
Ninja Creami Coffee Ice Cream
You only need 6 ingredients to make this deliciously creamy Ninja Creami Coffee Ice Cream recipe. It's even better than store bought!
Looking for more ice cream recipes? Try my Mint Chocolate Ice Cream or my Vegan No Churn Mango Ice Cream.
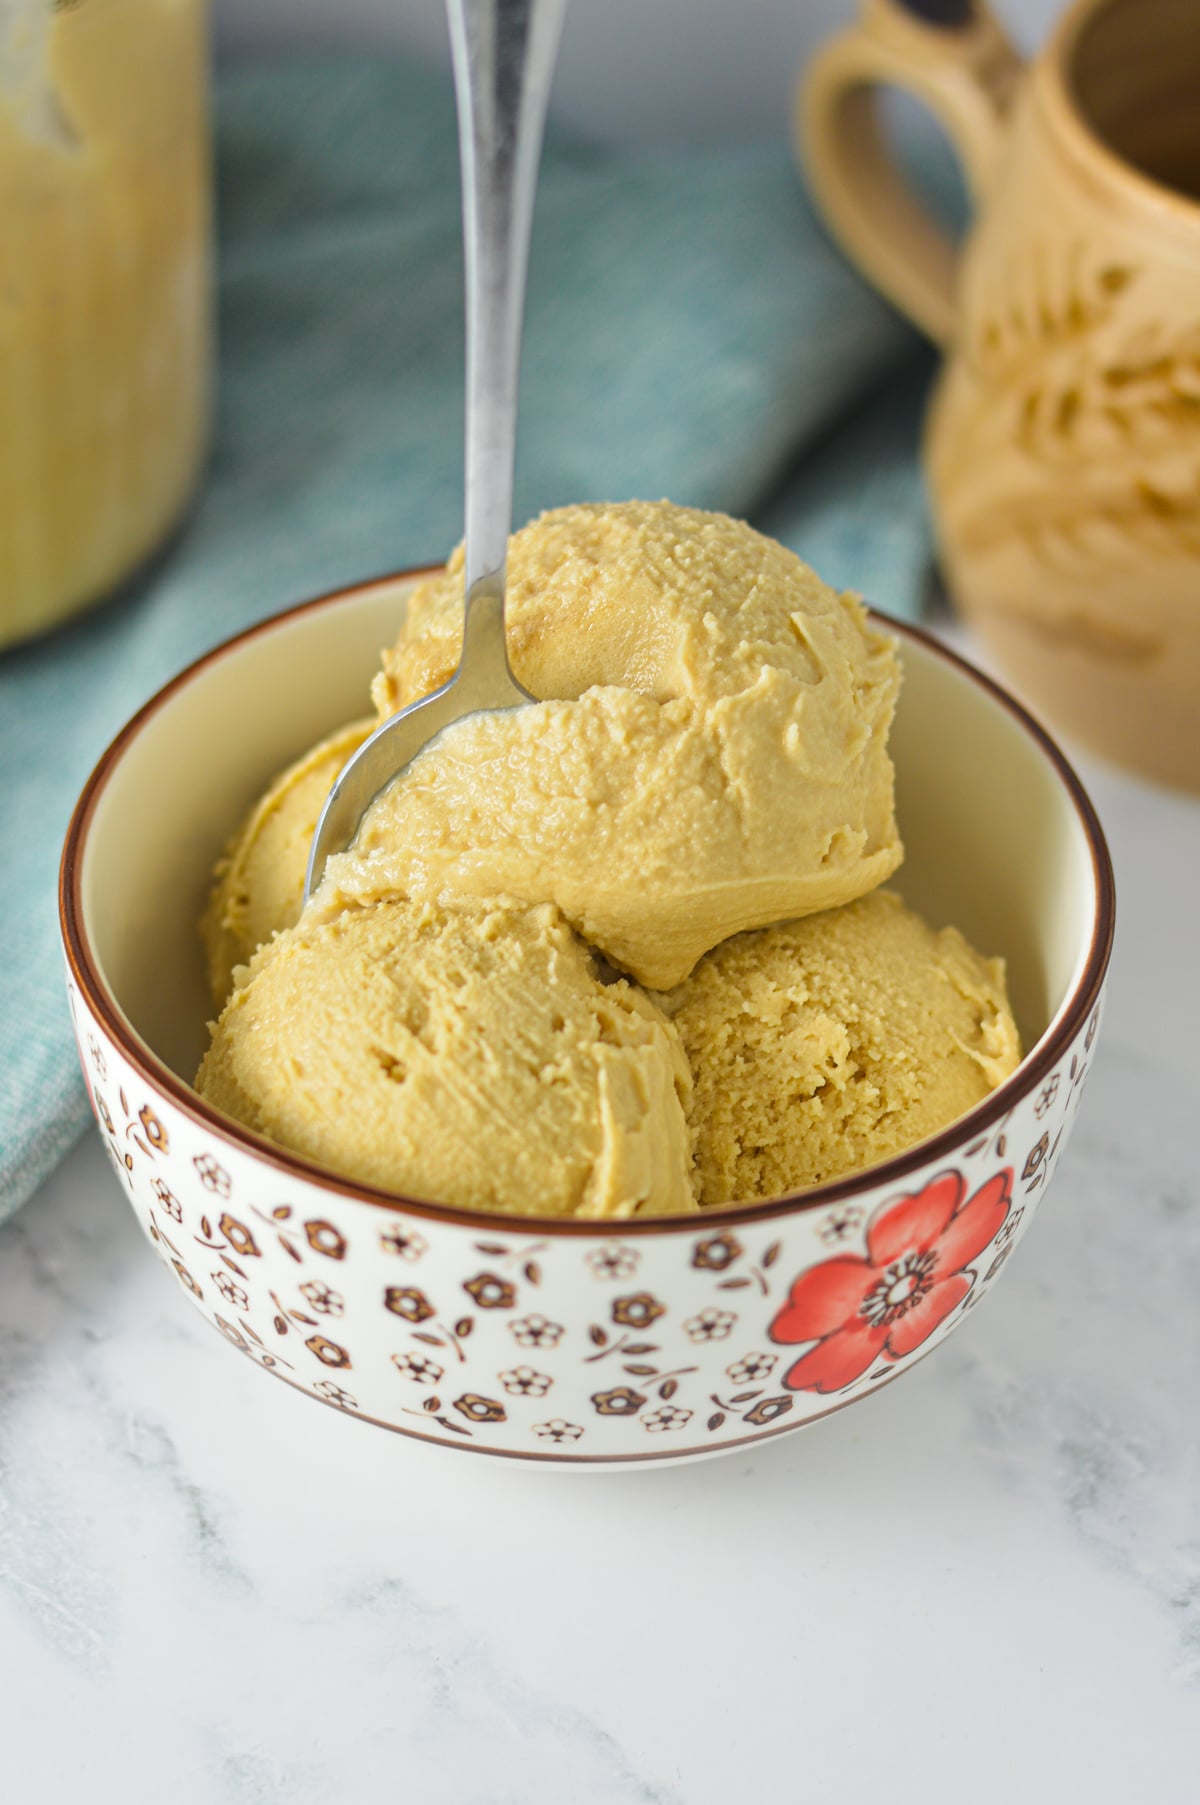
Recipe Summary: Ninja Creami Coffee Ice Cream
- ✅ Recipe Name: Ninja Creami Coffee Ice Cream
- 🕒 Ready In: 25 minutes
- 👪 Serves: 3
- 🍽 Calories: 266 per serving
- 🥣 Main Ingredients: Coffee, heavy cream, milk, white sugar, cream cheese, vanilla
- 📖 Dietary Info: Vegetarian, nut-free, gluten-free
- ⭐ Why You'll Love It: You can prep a bunch of this ice cream ahead of time so that you can just place it in the Ninja Creami machine to get creamy ice cream in minutes.
SUMMARIZE & SAVE THIS CONTENT ON
Jump to:
There are a couple of Ninja Creami recipes that I always have on hand in the freezer. You can bet that I will have my Birthday Cake Ninja Creami Ice Cream or my Ninja Creami Green Tea Ice Cream. But now, I am going to add this Ninja Creami Coffee Ice Cream to the rotation.
This ice cream is so creamy and delicious, you would never know it isn't store bought. Plus, I almost always have all of the ingredients on hand, which makes it so easy to prep on a whim.
In fact, I think that I am going to prep another one after writing this post. If you have a Ninja Creami machine, you need to try this!
Key Ingredients
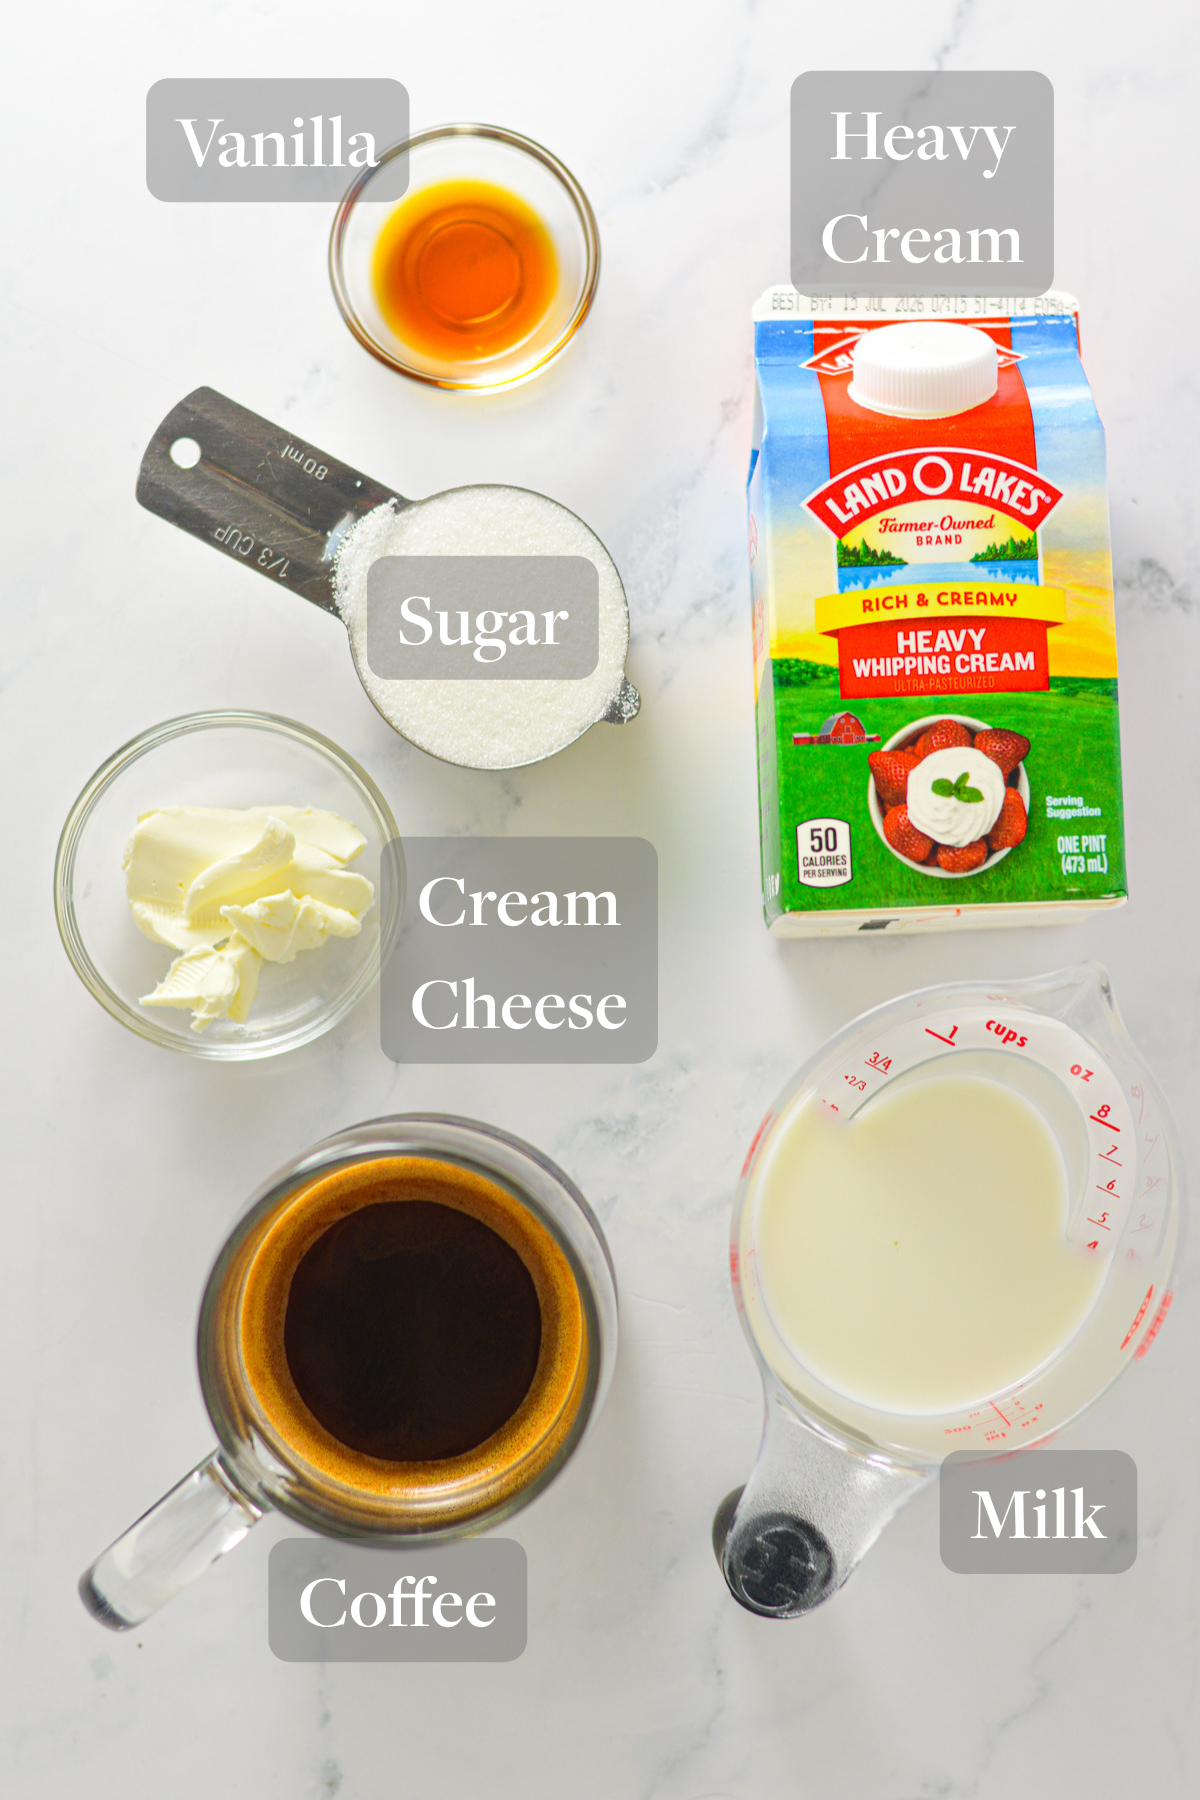
- Heavy cream: Gives the ice cream that rich and creamy texture, and prevents ice crystals from forming during the freezing process.
- Coffee: The ingredient that gives this ice cream its flavor! Make sure to use strong brewed coffee or espresso-style brew.
- Cream cheese: Acts as a stabilizer to bind the water and dairy together, preventing an icy and grainy mouthfeel.
- Milk: Balances out the heaviness of the cream, and ensures that the ice cream blends smoothly.
- White sugar: Adds sweetness and lowers the freezing point of the mixture. This prevents the mixture from freezing into a solid block, allowing the ice cream to be scoopable after being processed.
- Vanilla: Rounds out the flavor, and complements the coffee nicely.
How to Make Ninja Creami Coffee Ice Cream
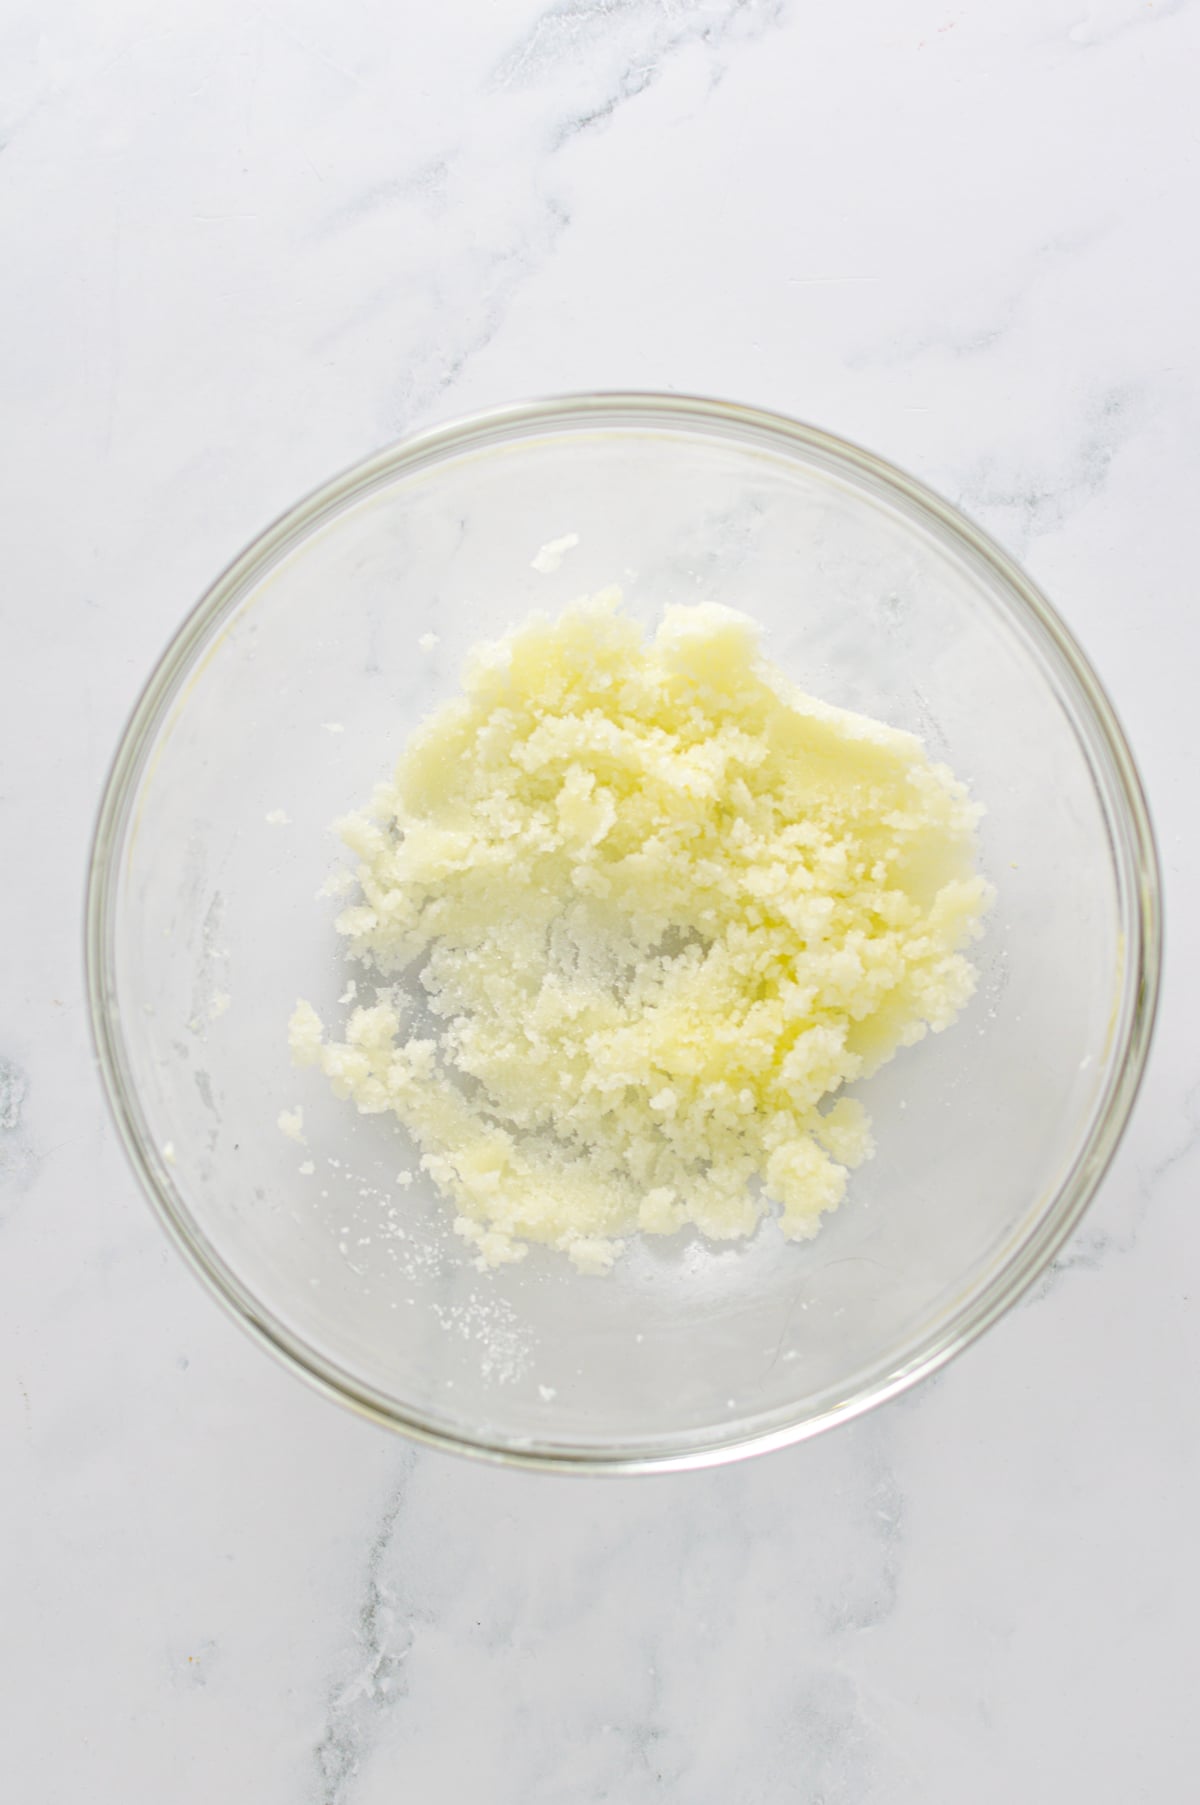
Step 1: In a medium microwave safe bowl, microwave the cream cheese for 10 seconds. Mix in the sugar until it turns into a paste.
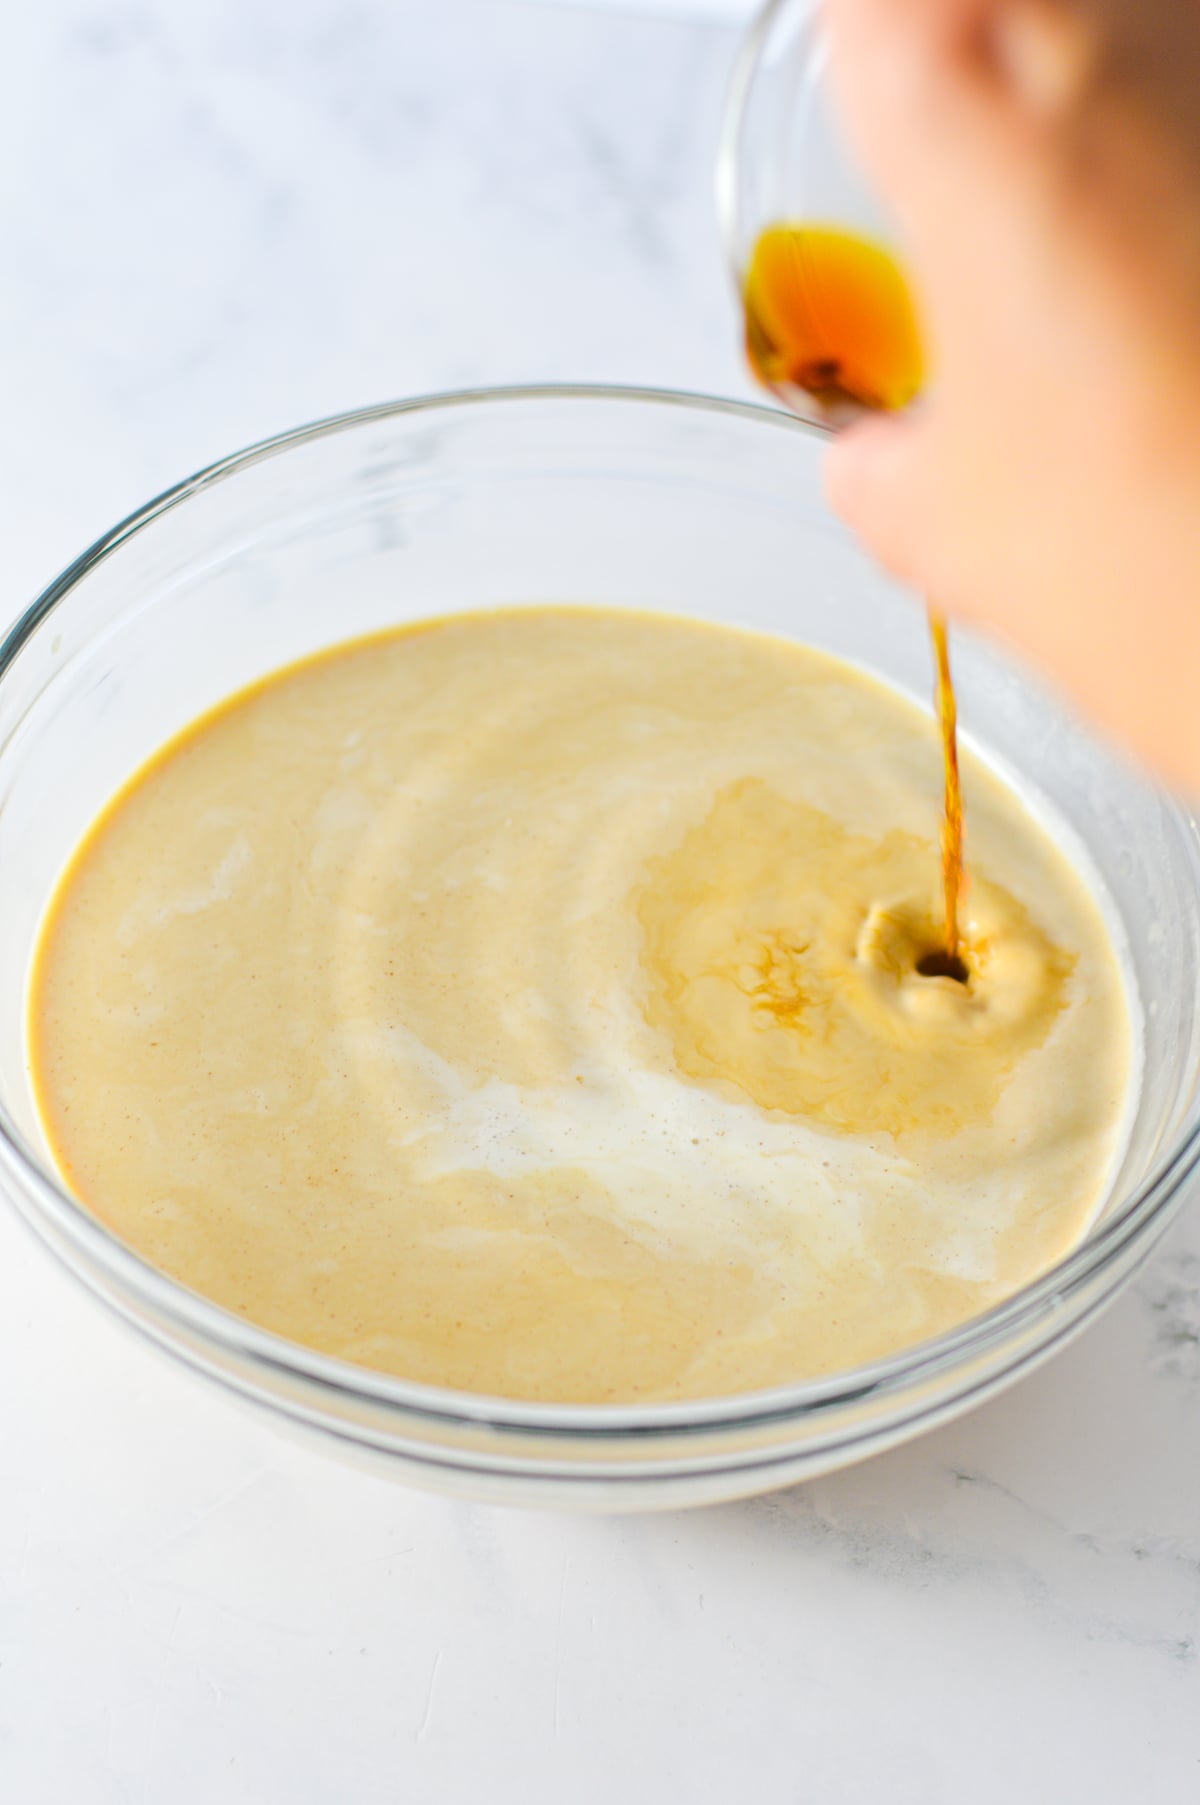
Step 2: In a small bowl, mix together the cream, milk and coffee.
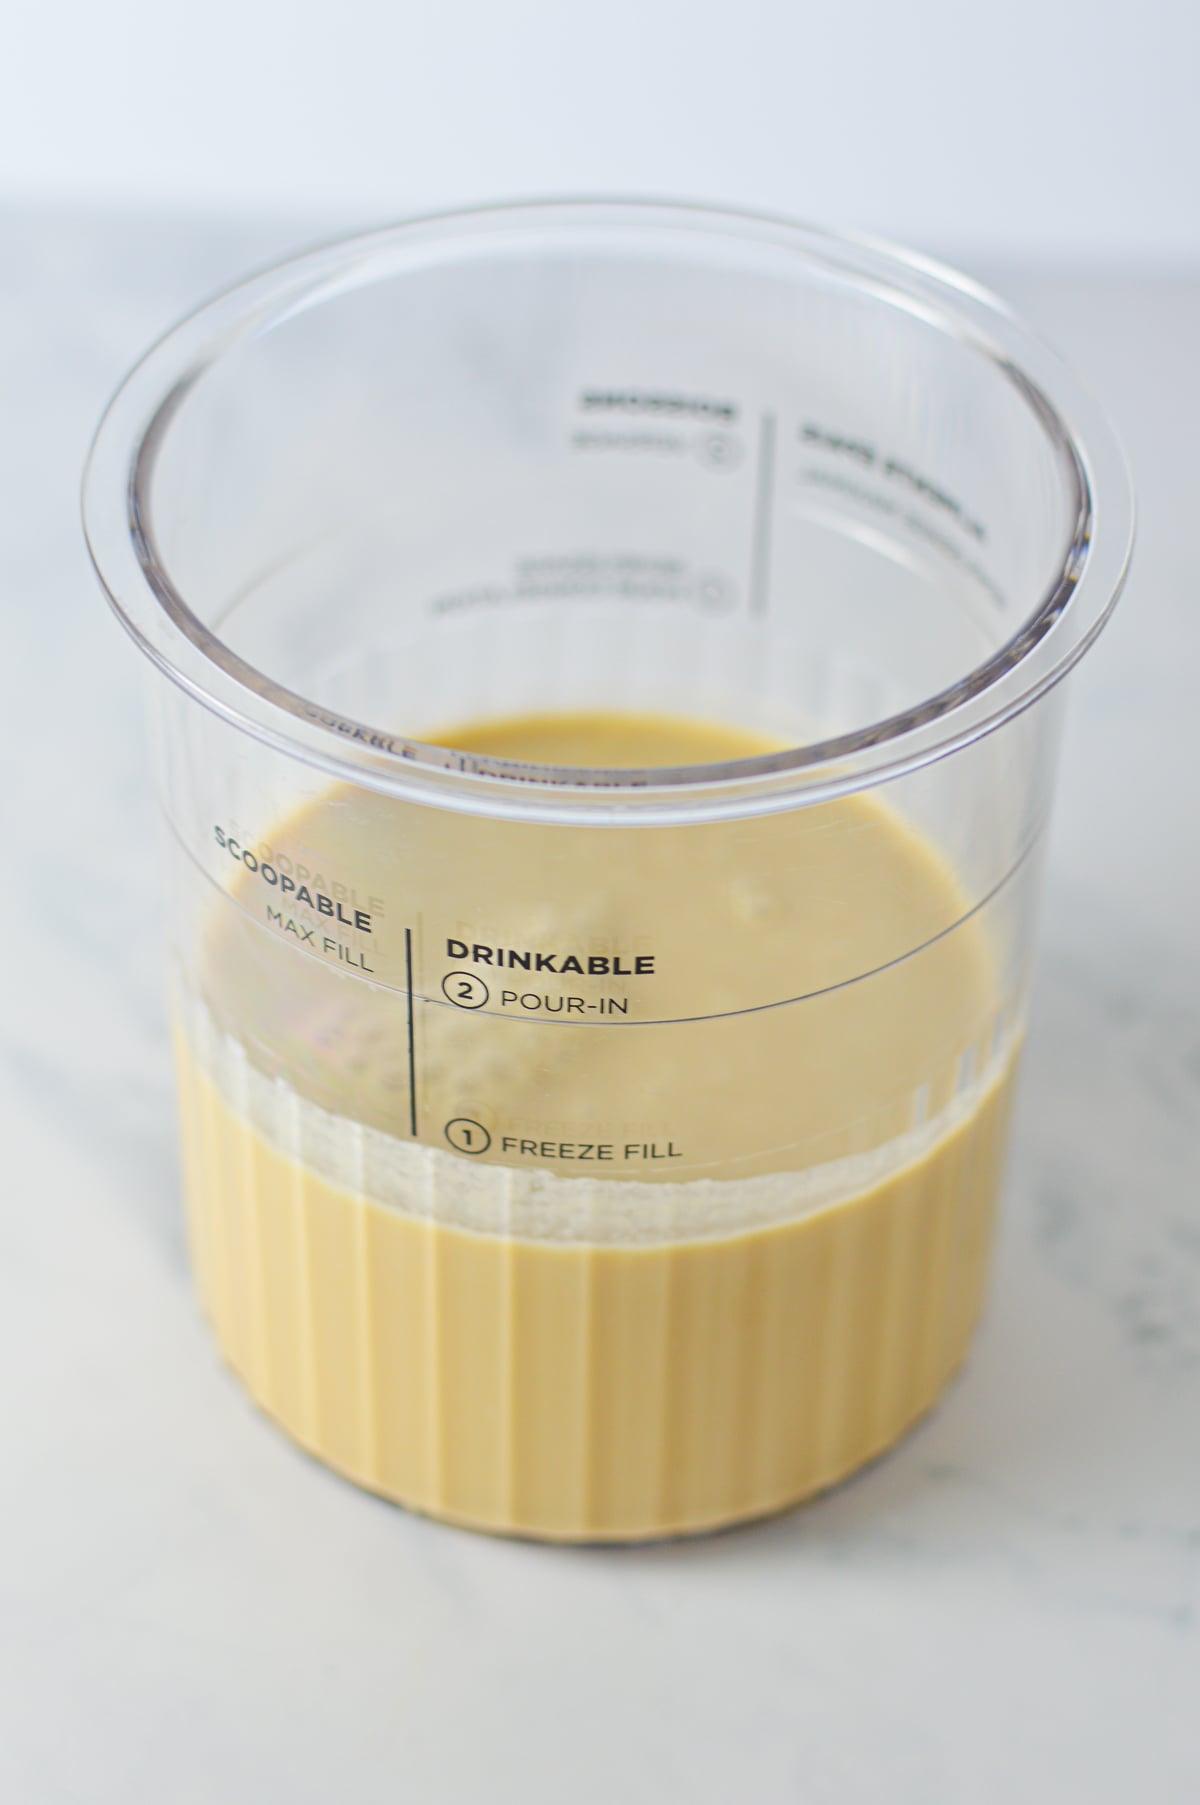
Step 3: Slowly mix the cream mixture into the the sugar mixture until the sugar has completely dissolved. Pour into a Ninja Creami pint, cover and place in the freezer for at least 24 hours.
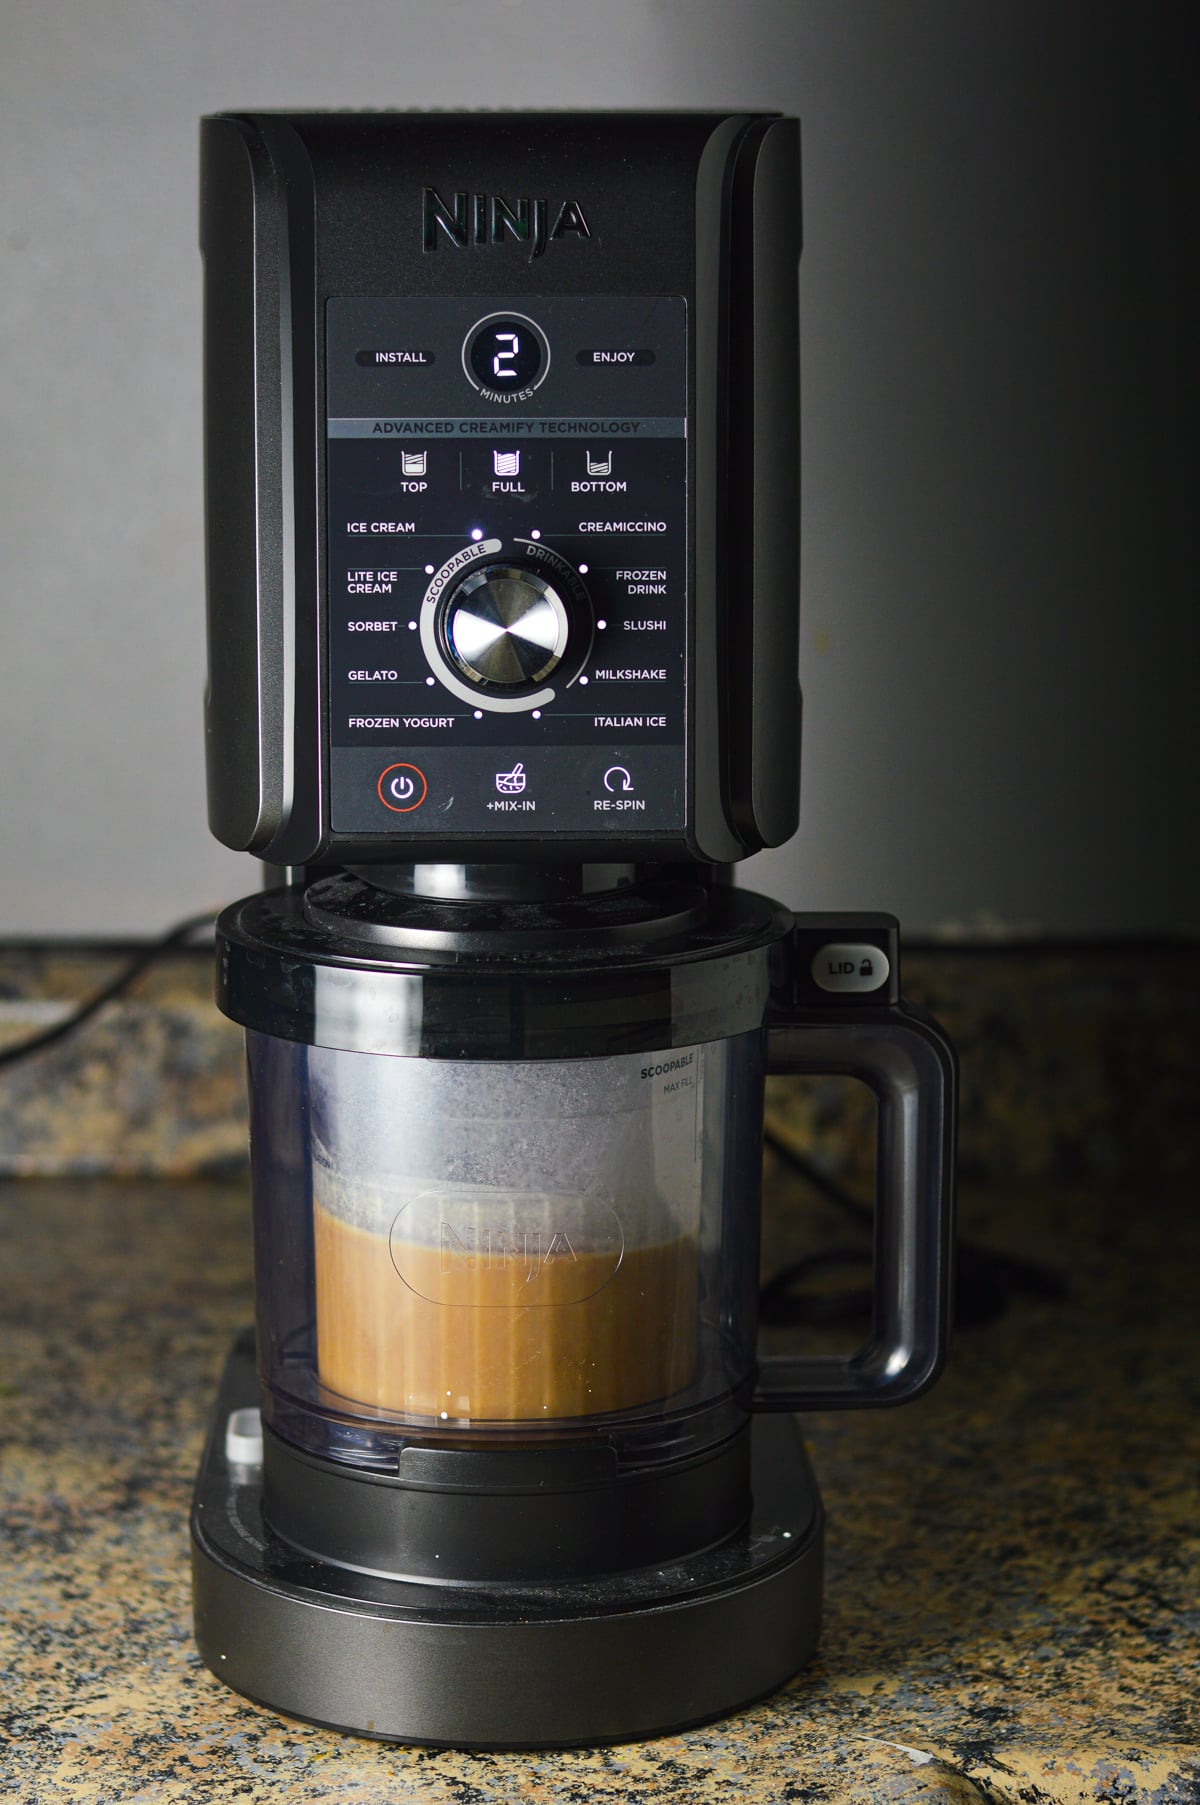
Step 4: Place the frozen pint in the Ninja Creami machine and set to Ice Cream. If it is still crumbly after processing, set to Re-Spin.
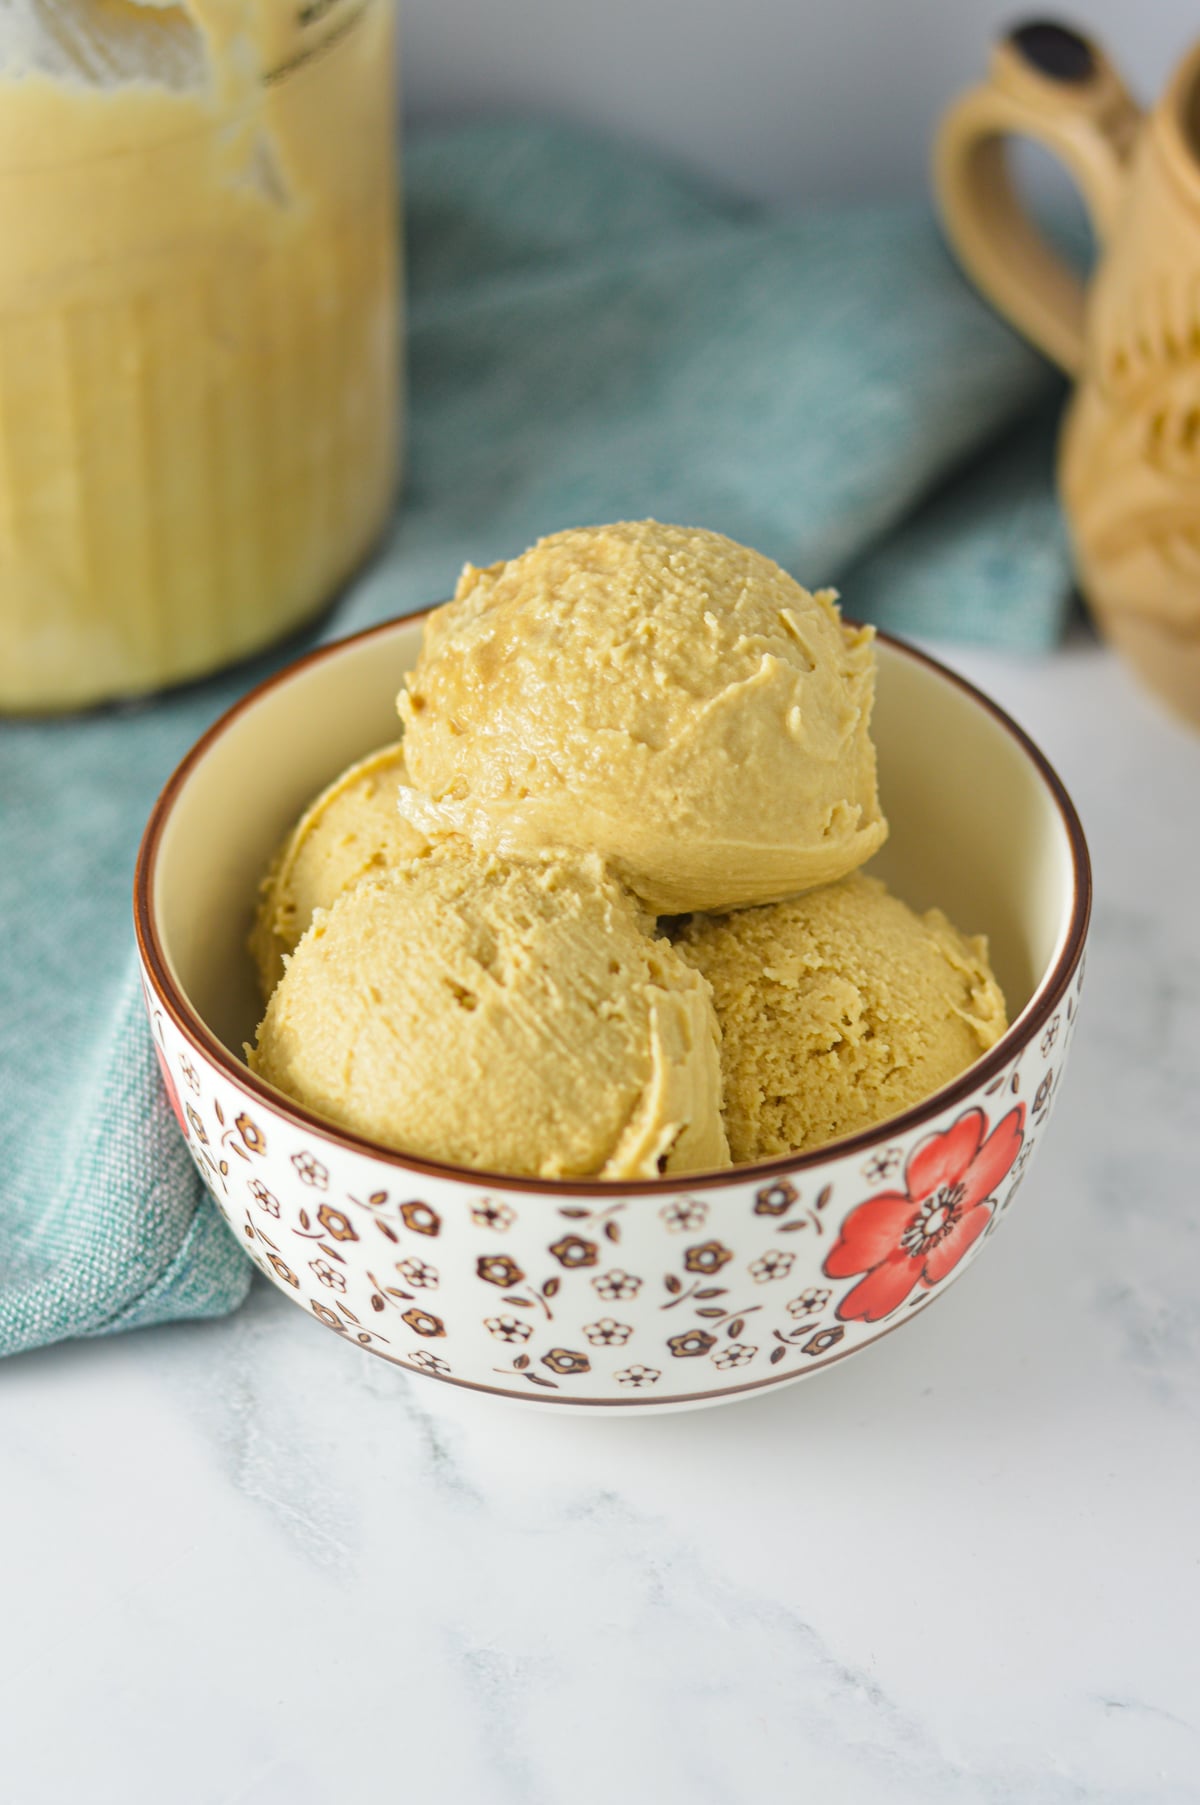
Ninja Creami Coffee Ice Cream Expert Tips
Make sure that you place the Ninja Creami pint on an even surface. This ensures that the mixture freezes evenly with a flat top. If it doesn't freeze flat, it could potentially damage the blade of the Ninja Creami machine.
Let it freeze fully. Make sure that you keep your pint in the freezer for at least 24 hours so your ice cream doesn't end up being too wet.
Replace the coffee with espresso or instant espresso powder. If you want a stronger coffee flavor, replace the coffee with a shot of espresso or mix in 1 teaspoon of instant espresso powder directly into the milk and cream mixture.
Add some mix-ins. To take this ice cream to the next level, after the initial spin add chocolate chips or crushed cookies then process again using the Mix-In function.
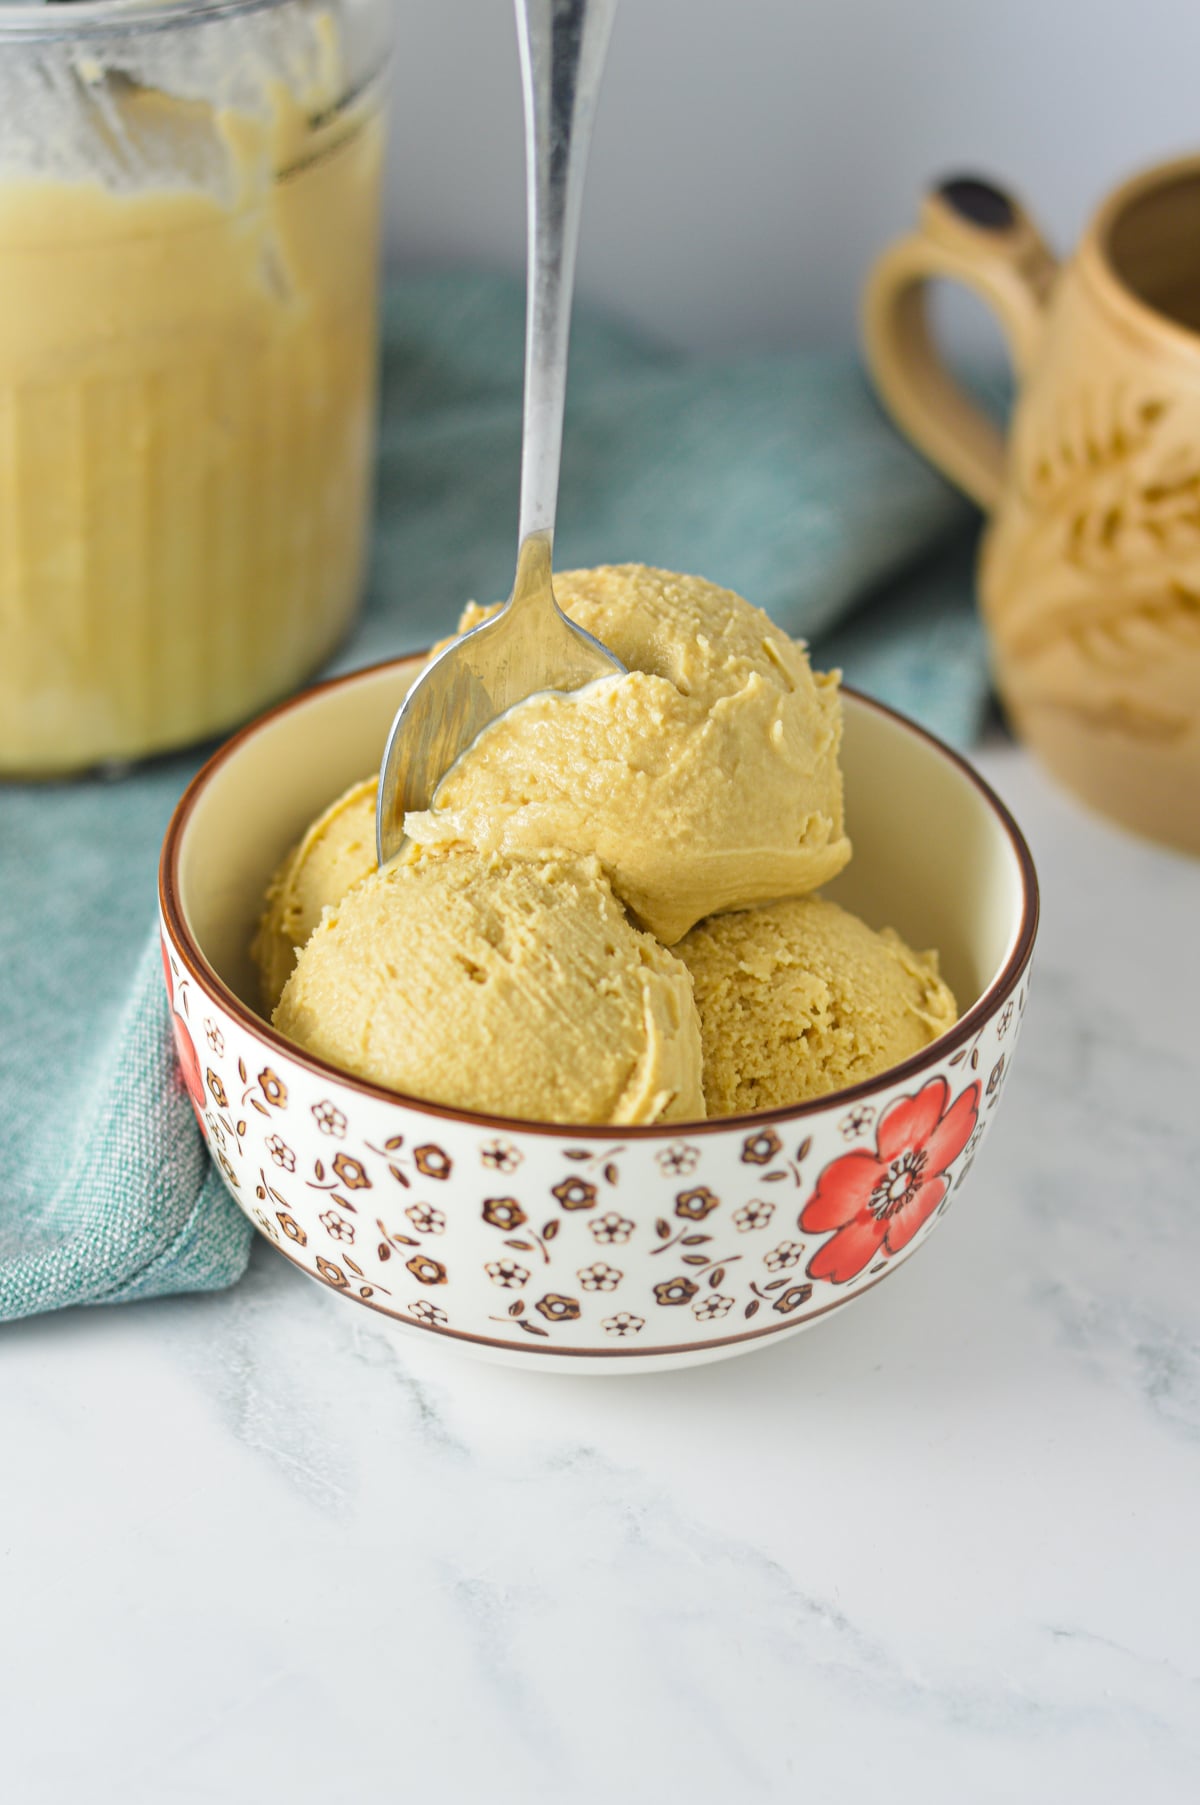
More Ninja Creami Ice Cream Recipes To Try
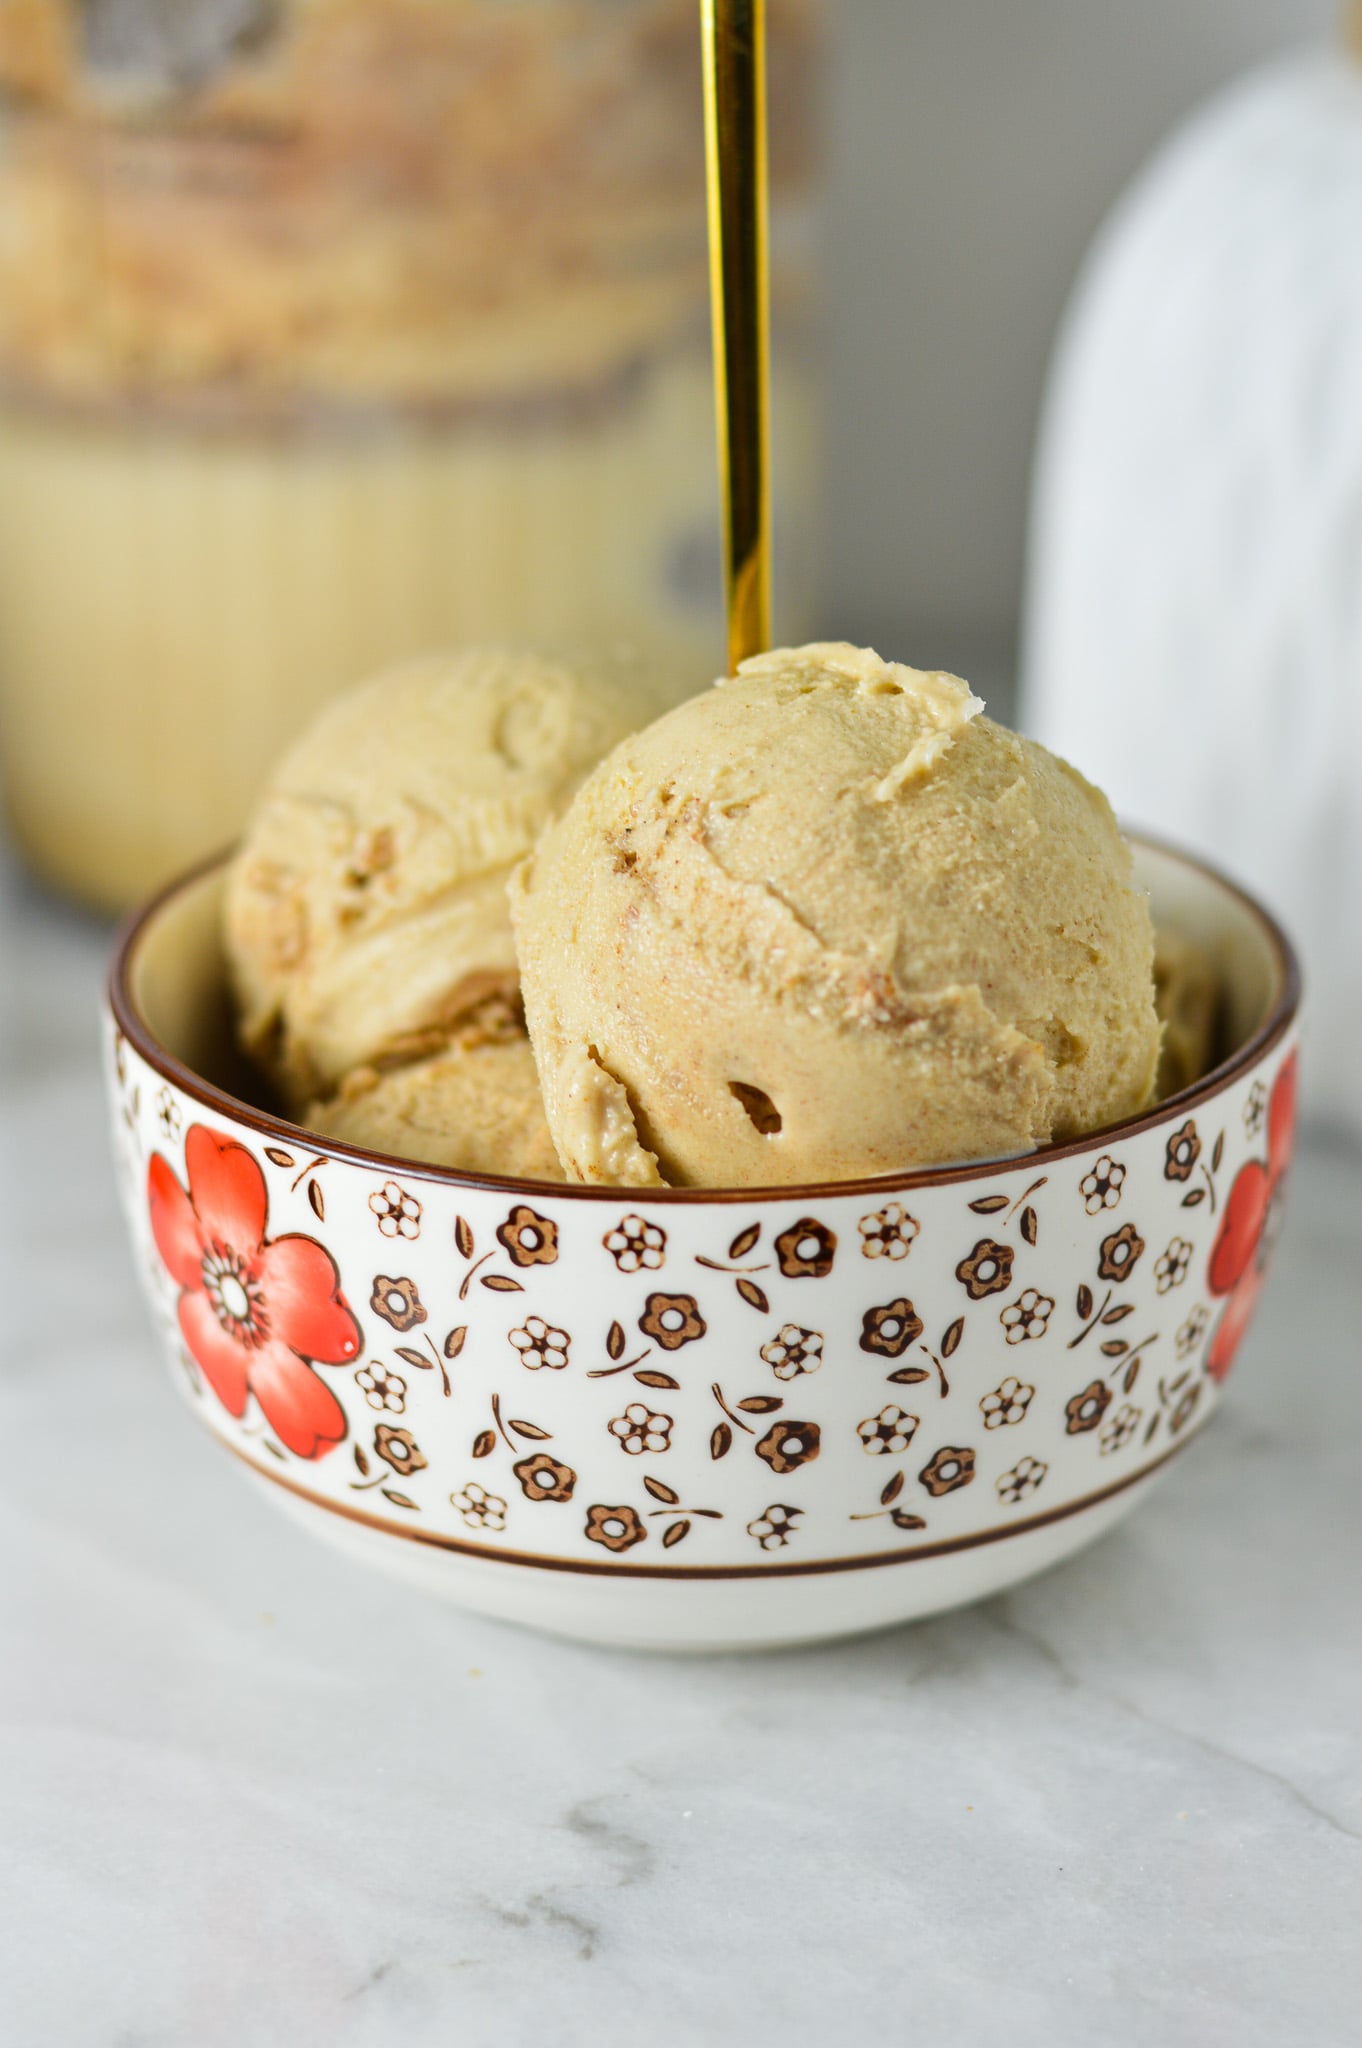
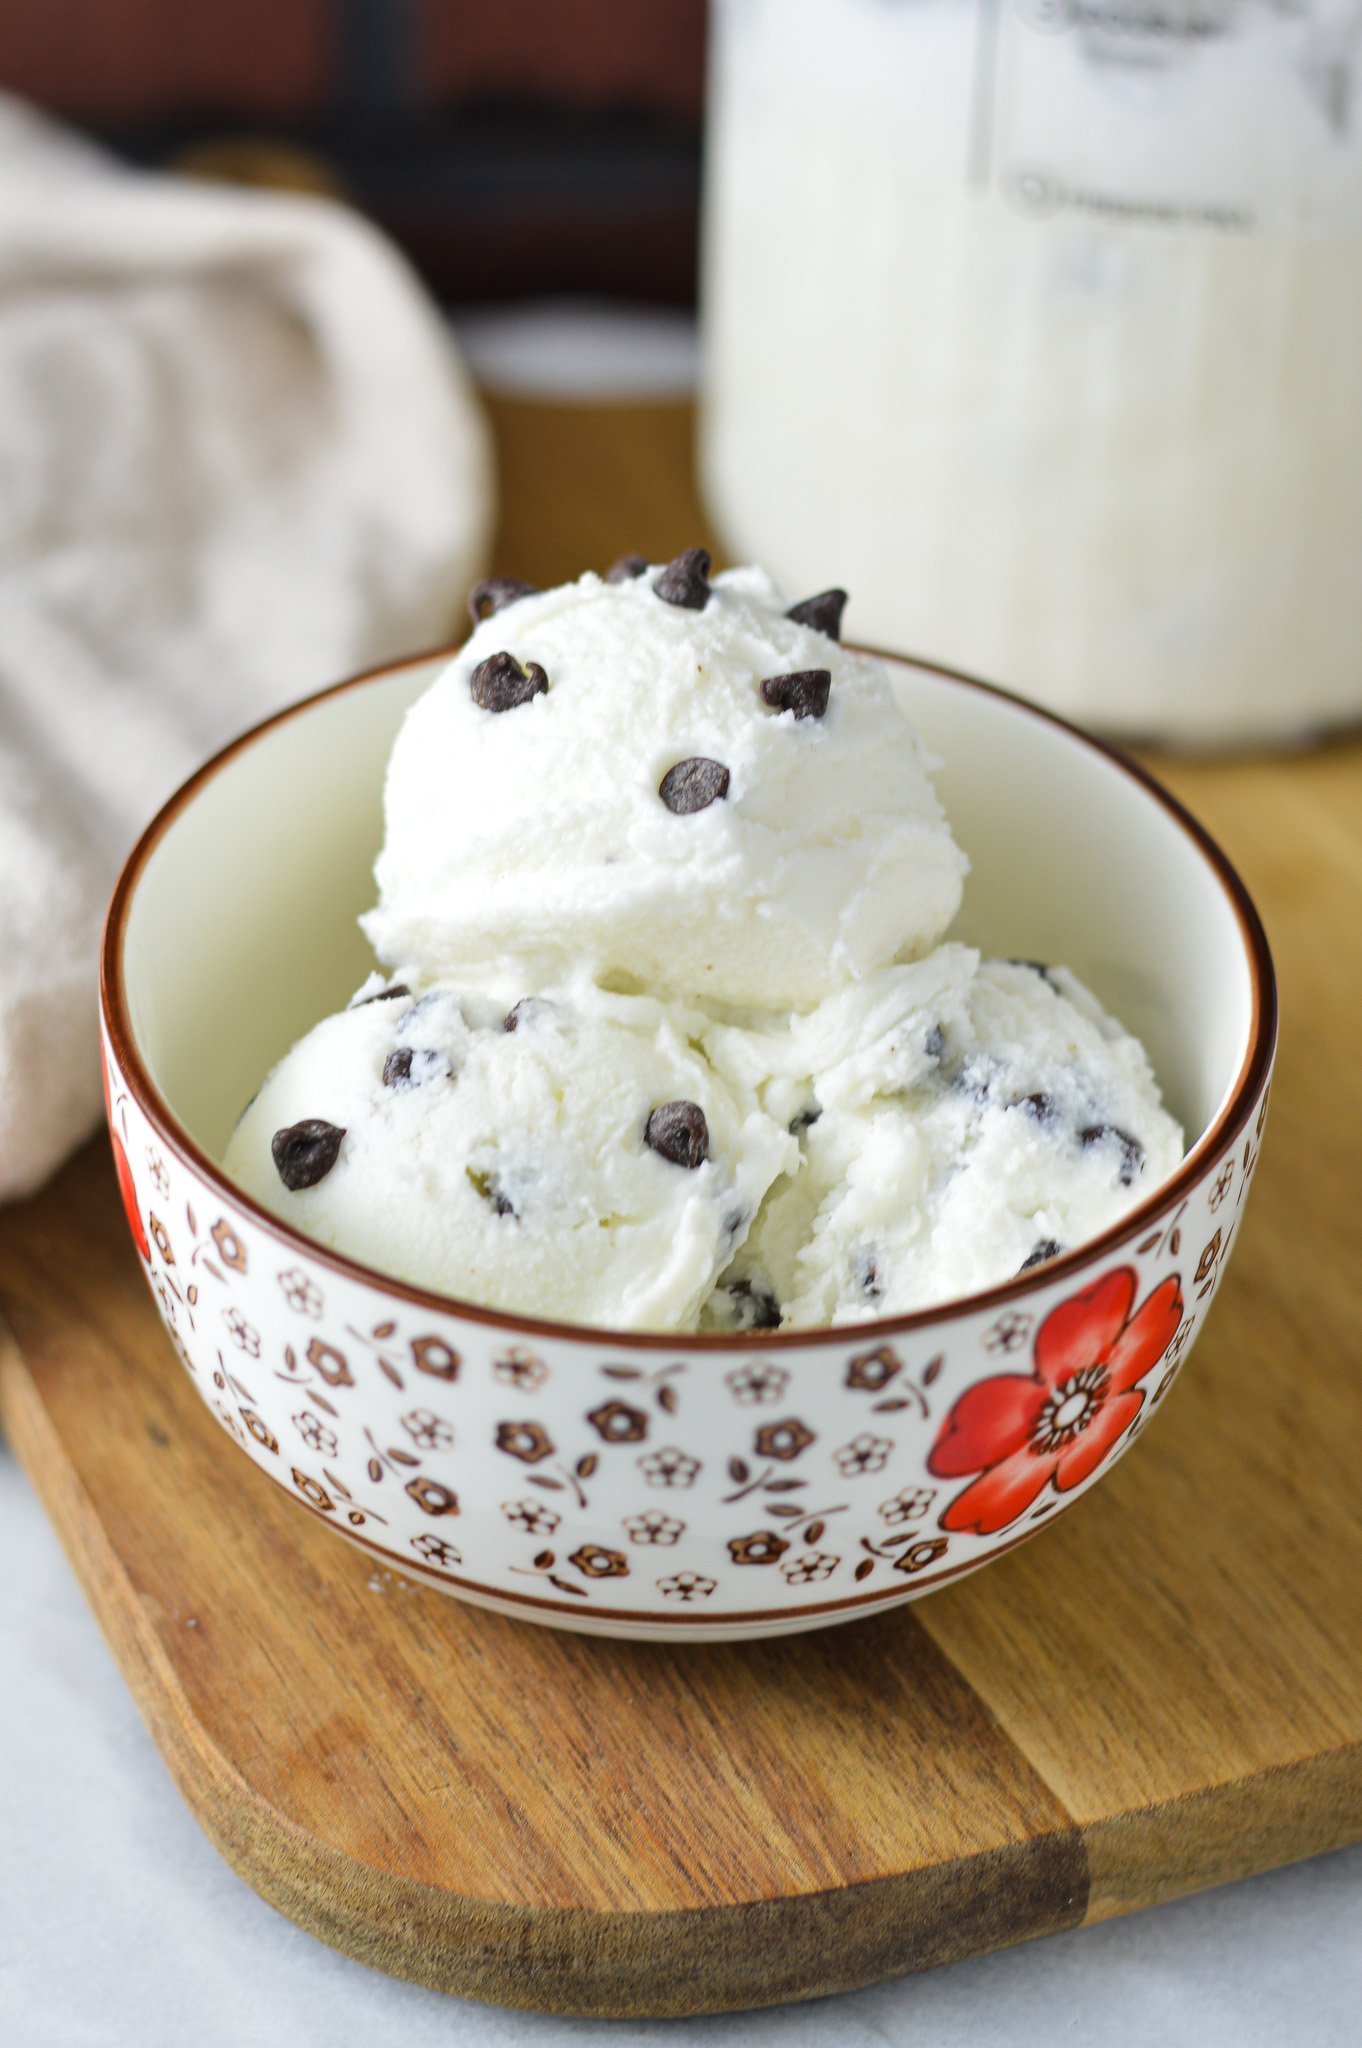
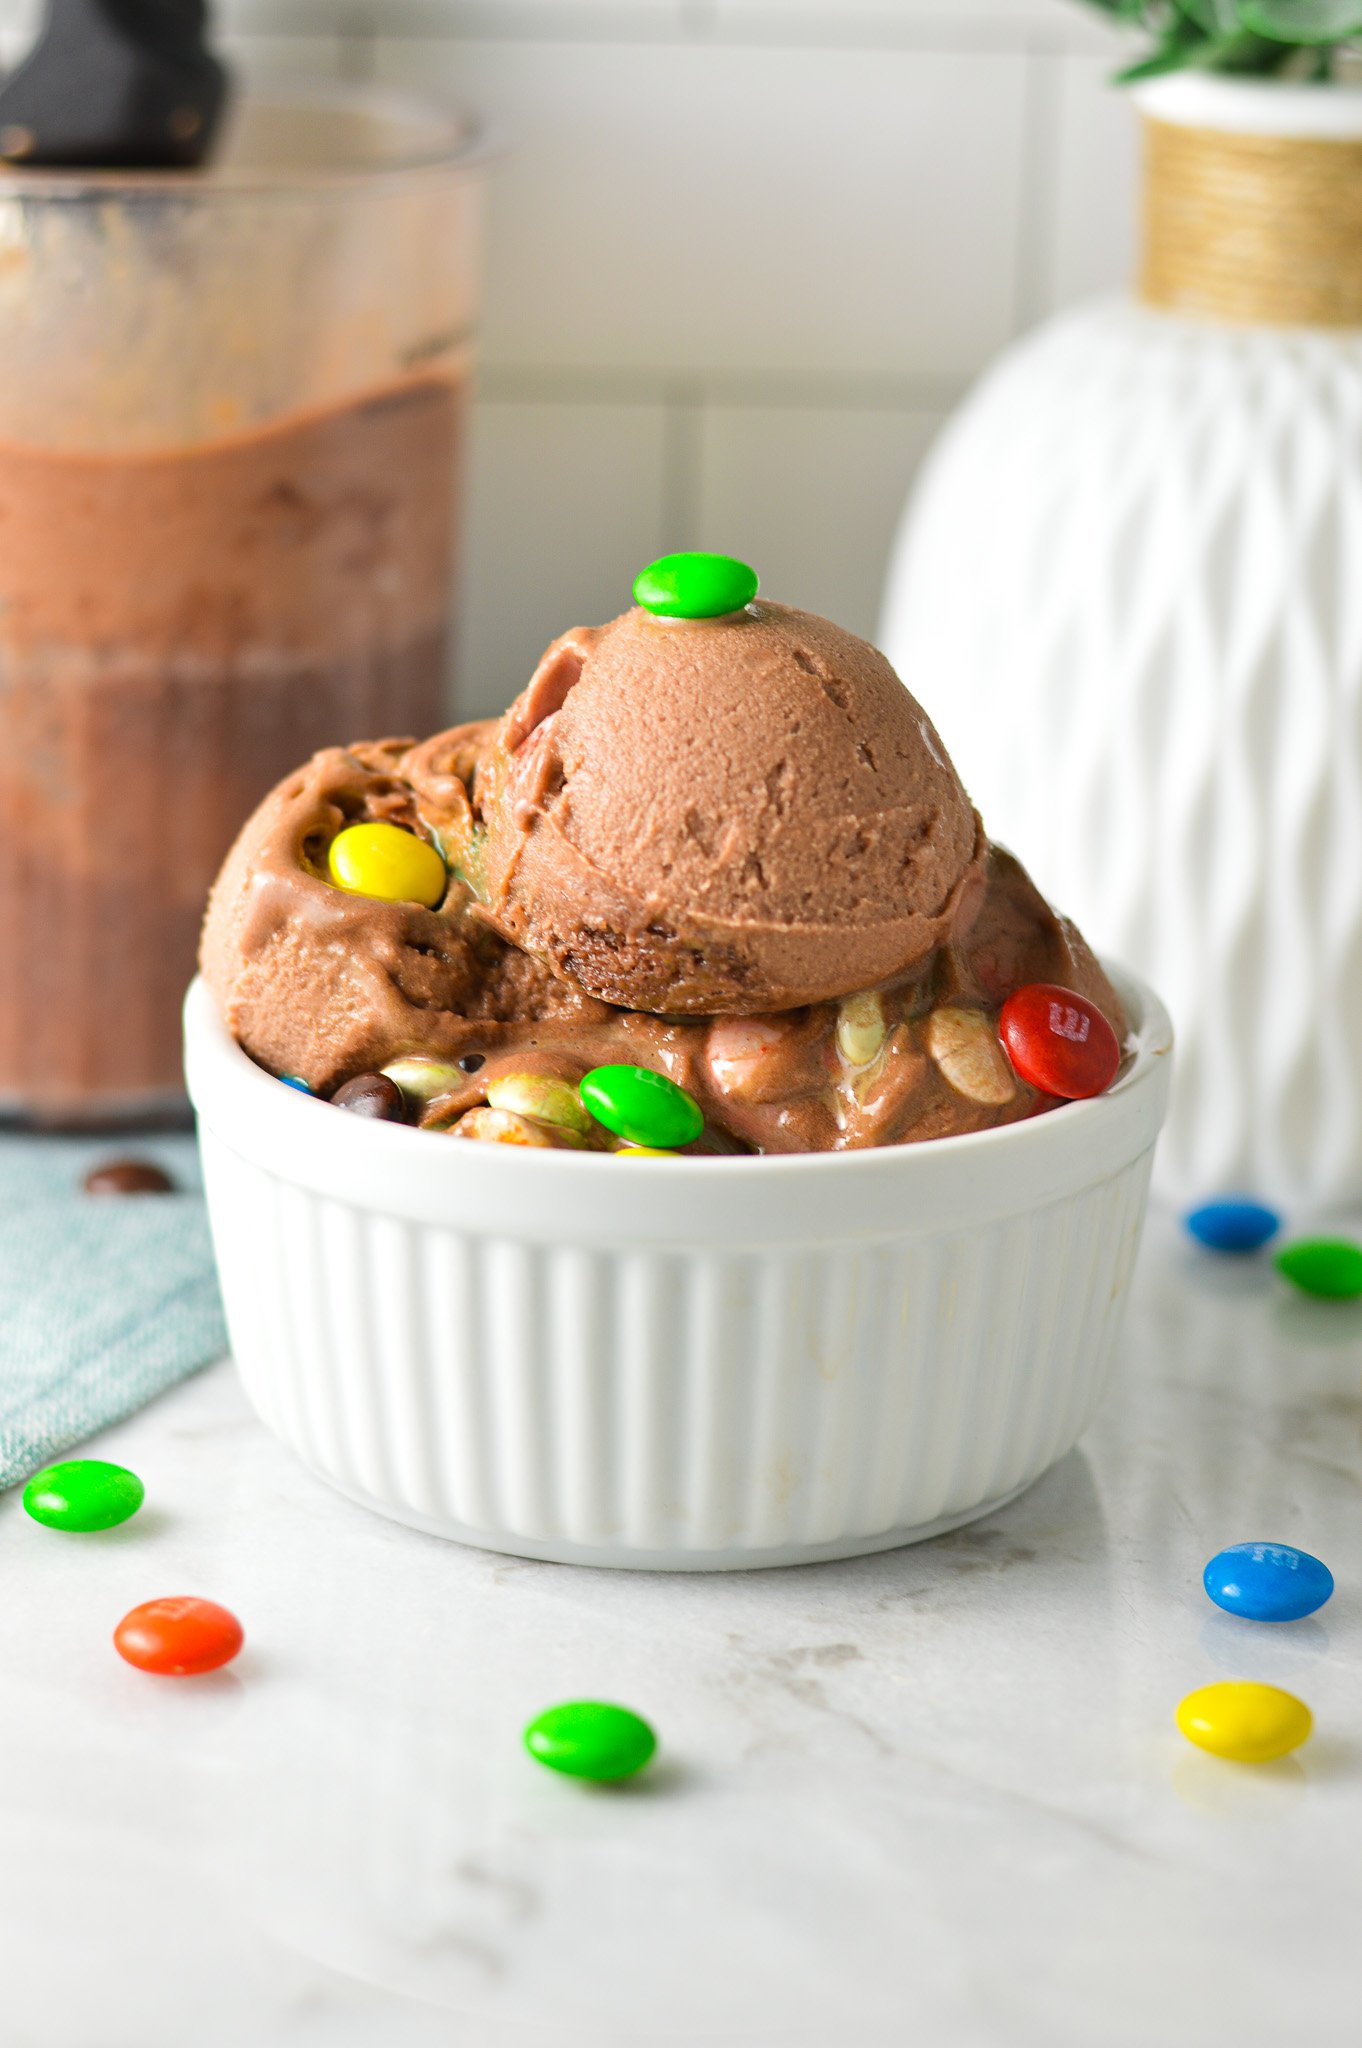
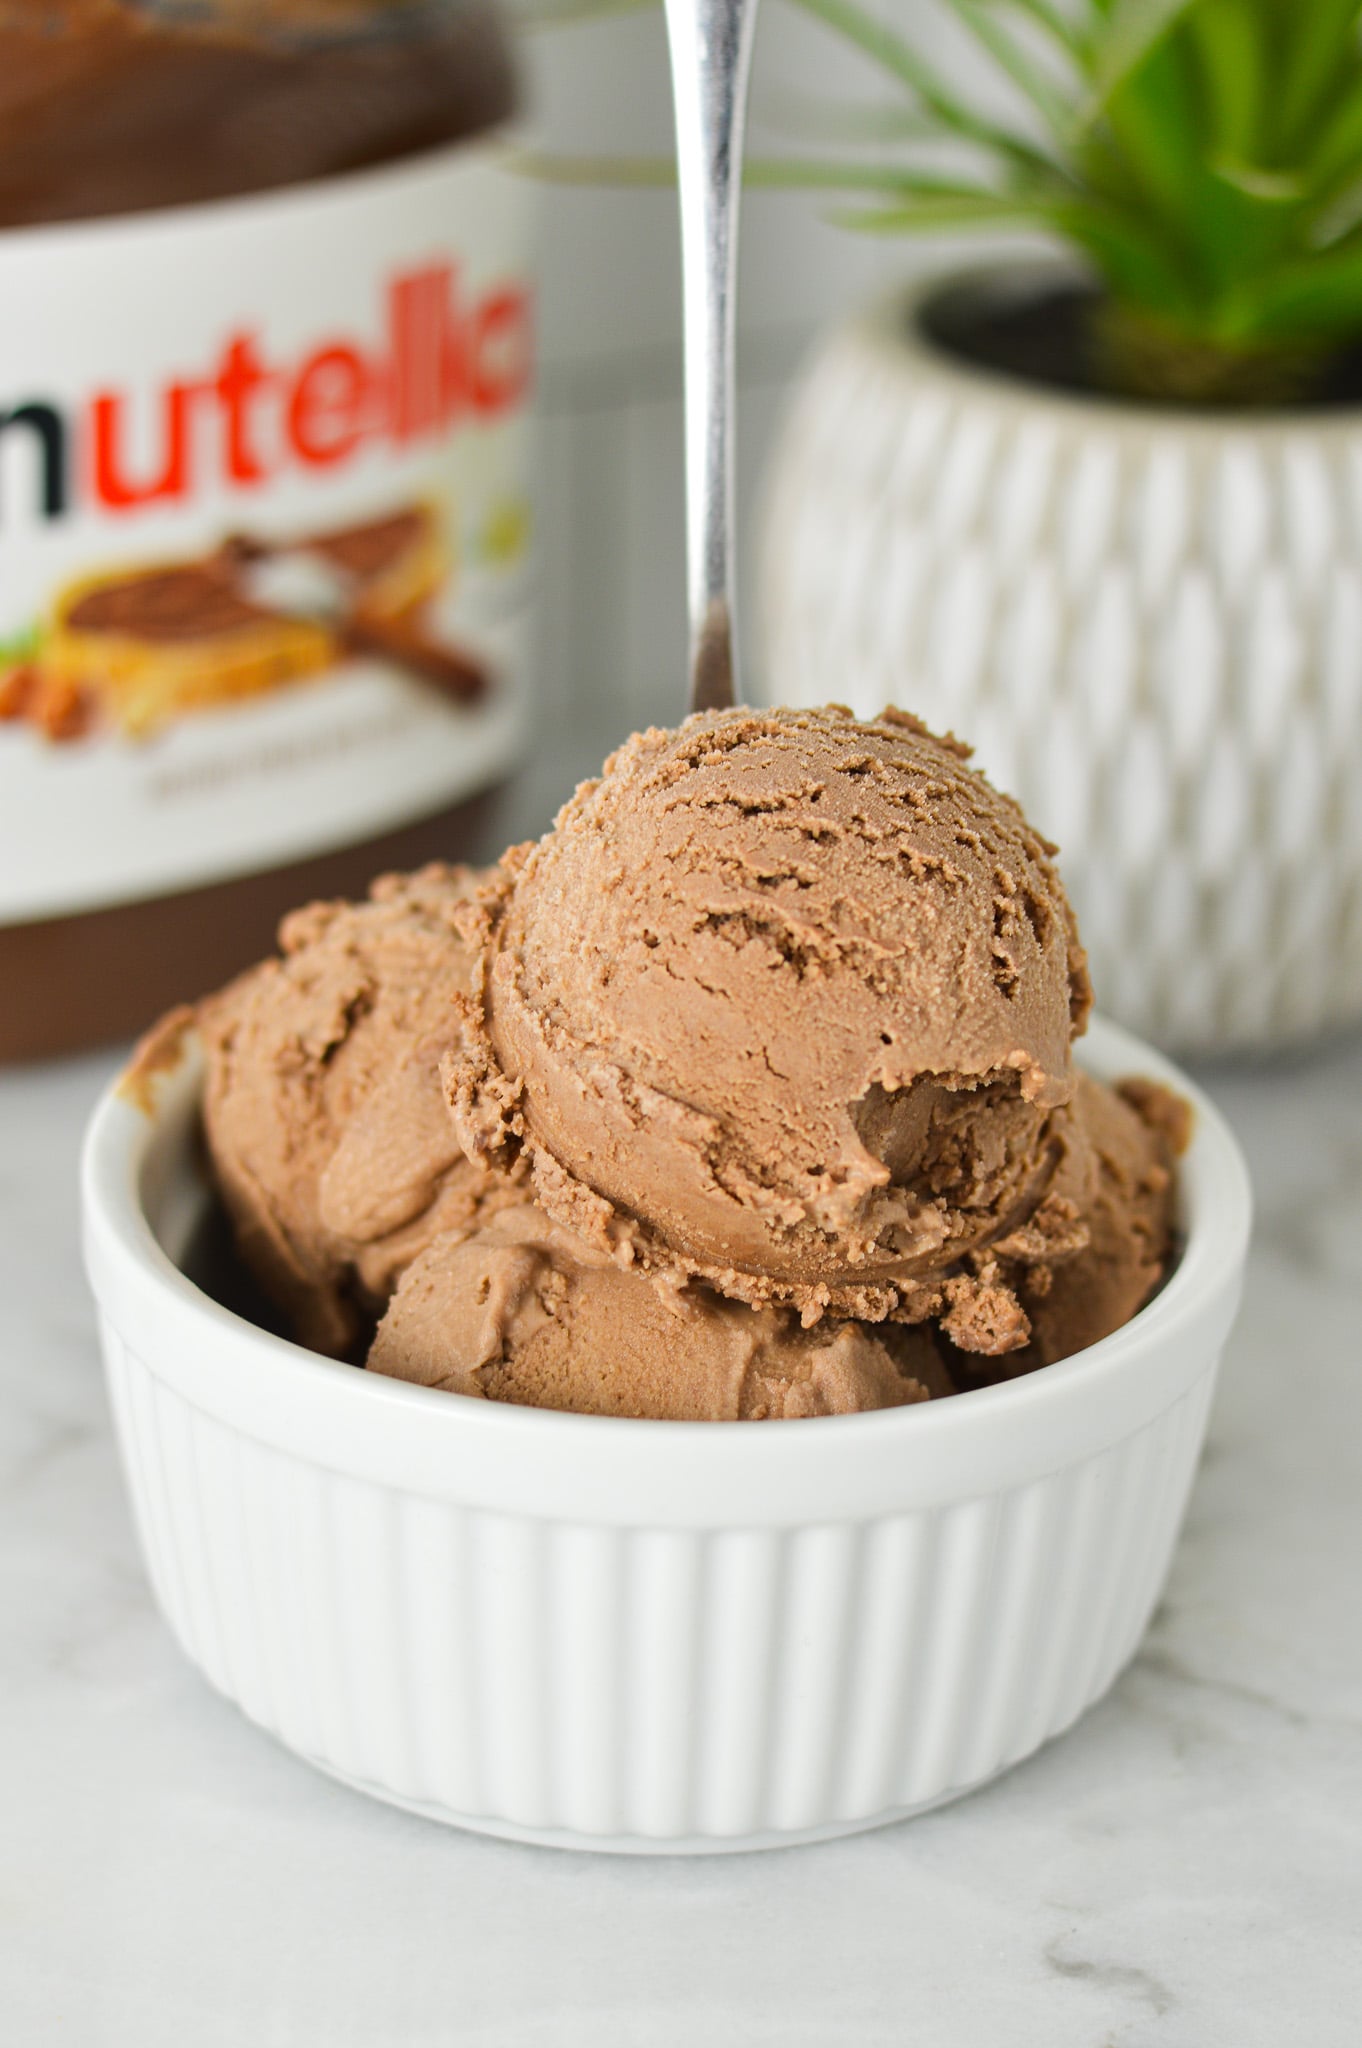
If you try this recipe, let me know! Rate it, leave a comment and tag me with #atasteofmadness on Instagram! I always love seeing what you are creating!
Ninja Creami Coffee Ice Cream
Ingredients
- ½ oz cream cheese
- ⅓ cup granulated sugar
- ½ cup heavy cream
- ½ cup milk
- ½ cup strong brewed coffee
- 1 teaspoon vanilla extract
Instructions
- In a medium microwave safe bowl, microwave the cream cheese for 10 seconds. Mix in the sugar to form a paste.
- In a small bowl, mix together the heavy cream, milk, coffee and vanilla.
- Slowly (around 1 Tablespoon at a time) mix the cream mixture into the sugar mixture until the sugar has melted.
- Pour the mixture into your Ninja Creami pint. Cover and freeze for at least 24 hours.
- Place the frozen pint container in the Ninja Creami machine and set to Ice Cream. If the mixture is crumbly, set to Re-Spin. Scoop into bowls and enjoy!
Notes
- Ingredient swaps: Instead of the brewed coffee, you can replace it with 1 shot of espresso or 1 teaspoon of instant espresso powder dissolved in the milk and cream mixture for a bolder coffee flavor.
- Freeze on an even surface. If the mixture froze at an angle, this could potentially damage the blade when it is processing the ice cream.
- Make use of the Re-spin function! If the mixture is still crumbly, you can always process it again using the Re-Spin button. Don't add any other liquid, unless you want more of a soft serve texture.
- Add mix-ins. After the first spin, add some of your favorite mix-ins using the Mix-In function. Some of my favorite things to add to this coffee ice cream are crushed Oreos or mini chocolate chips.

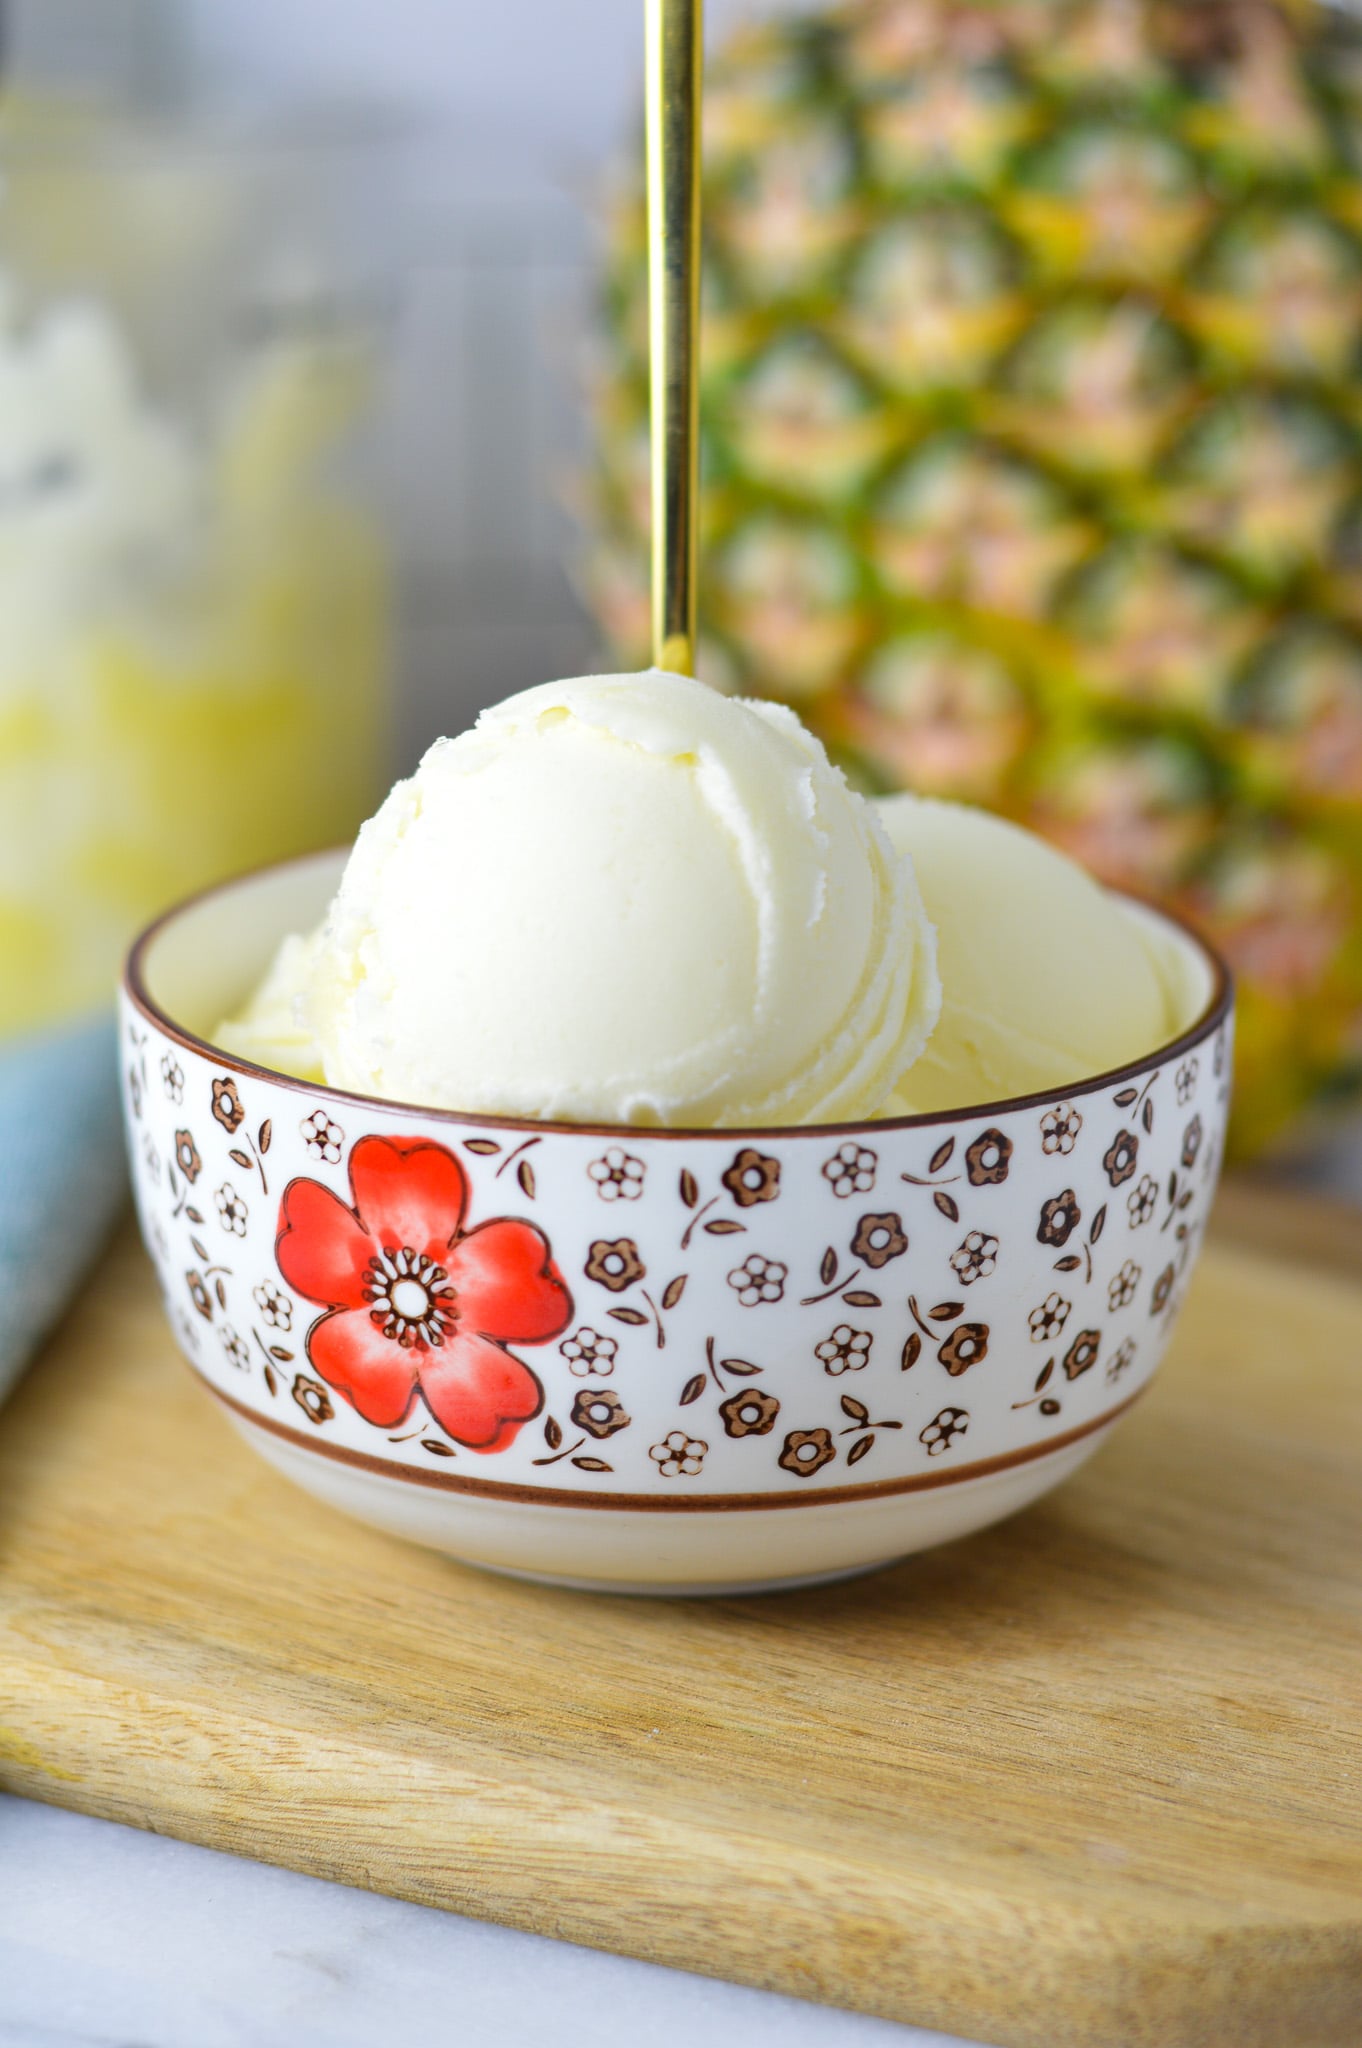
I am always craving coffee ice cream, so I love having pints of them in my freezer ready to go for when the cravings strike.