
Witch Finger Cookies
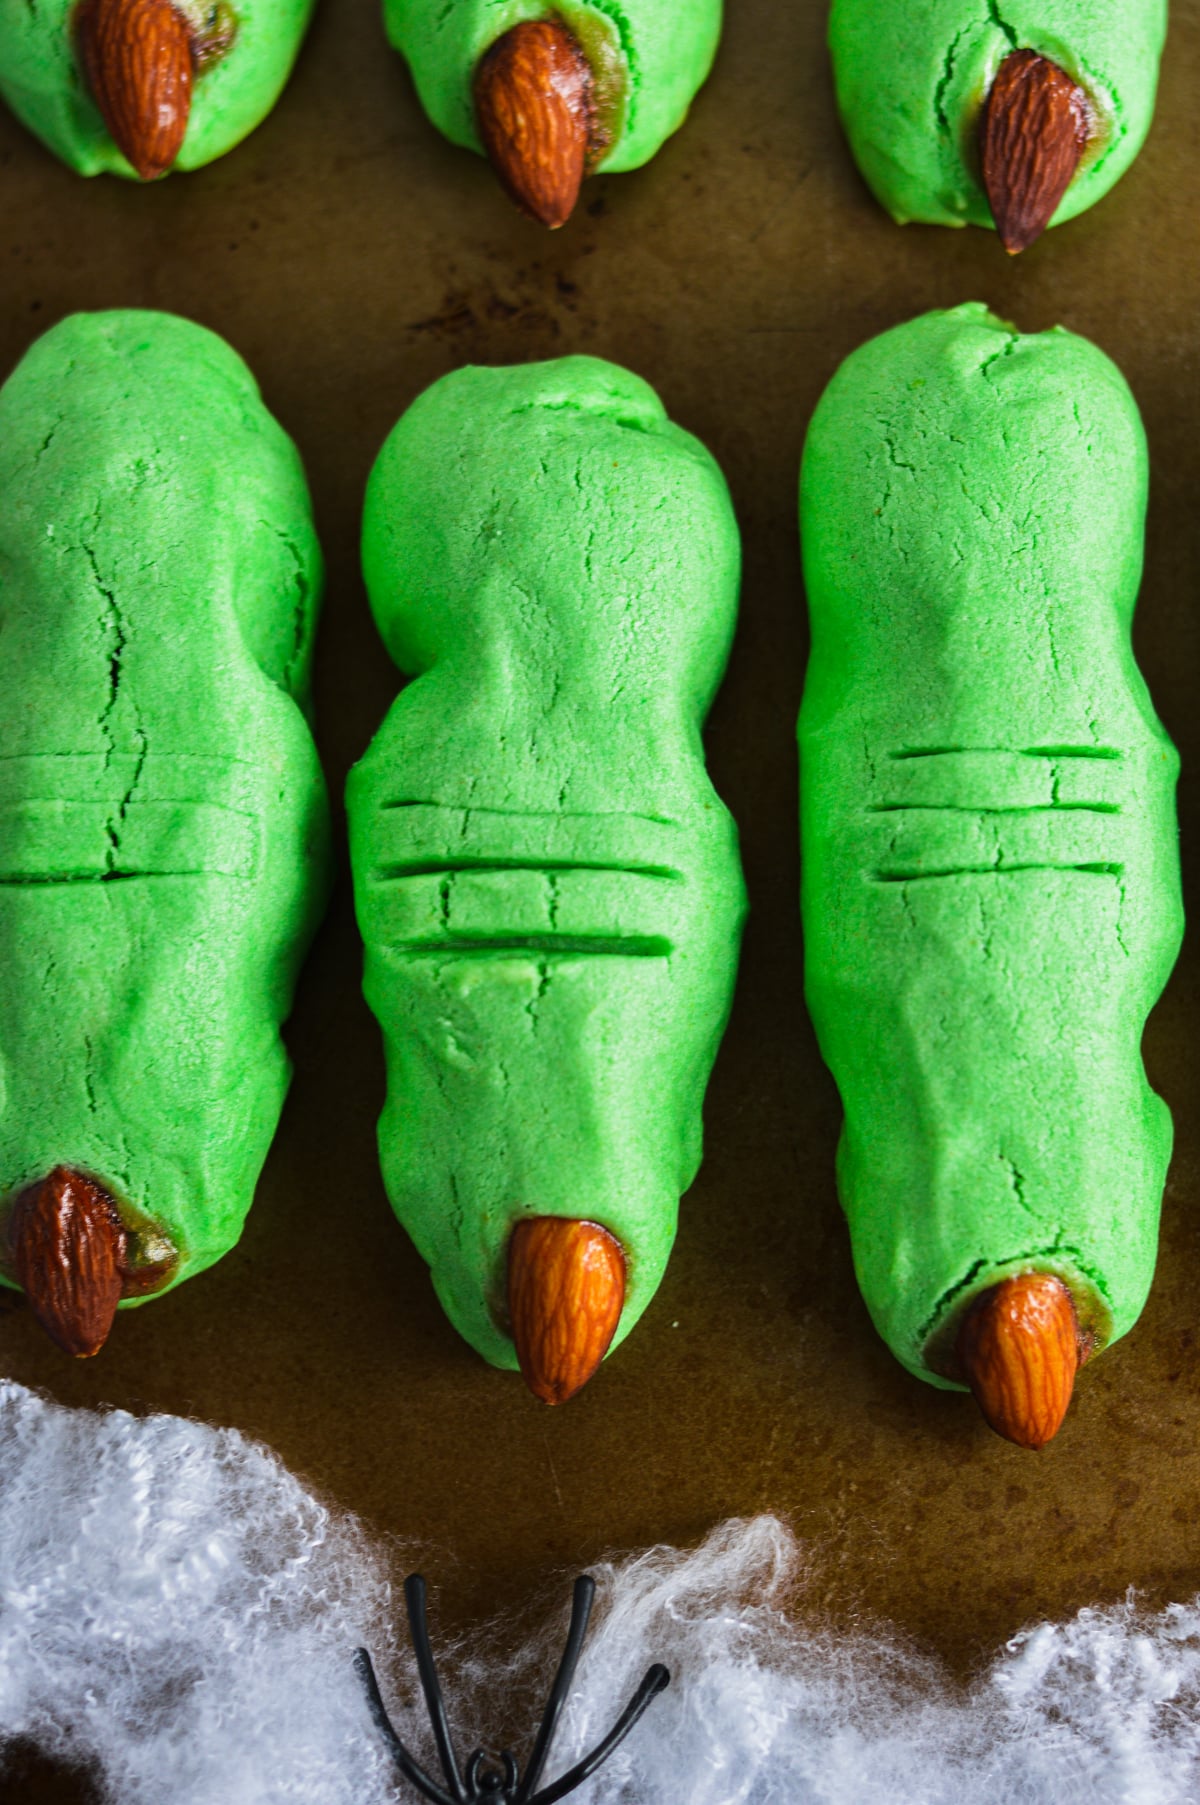
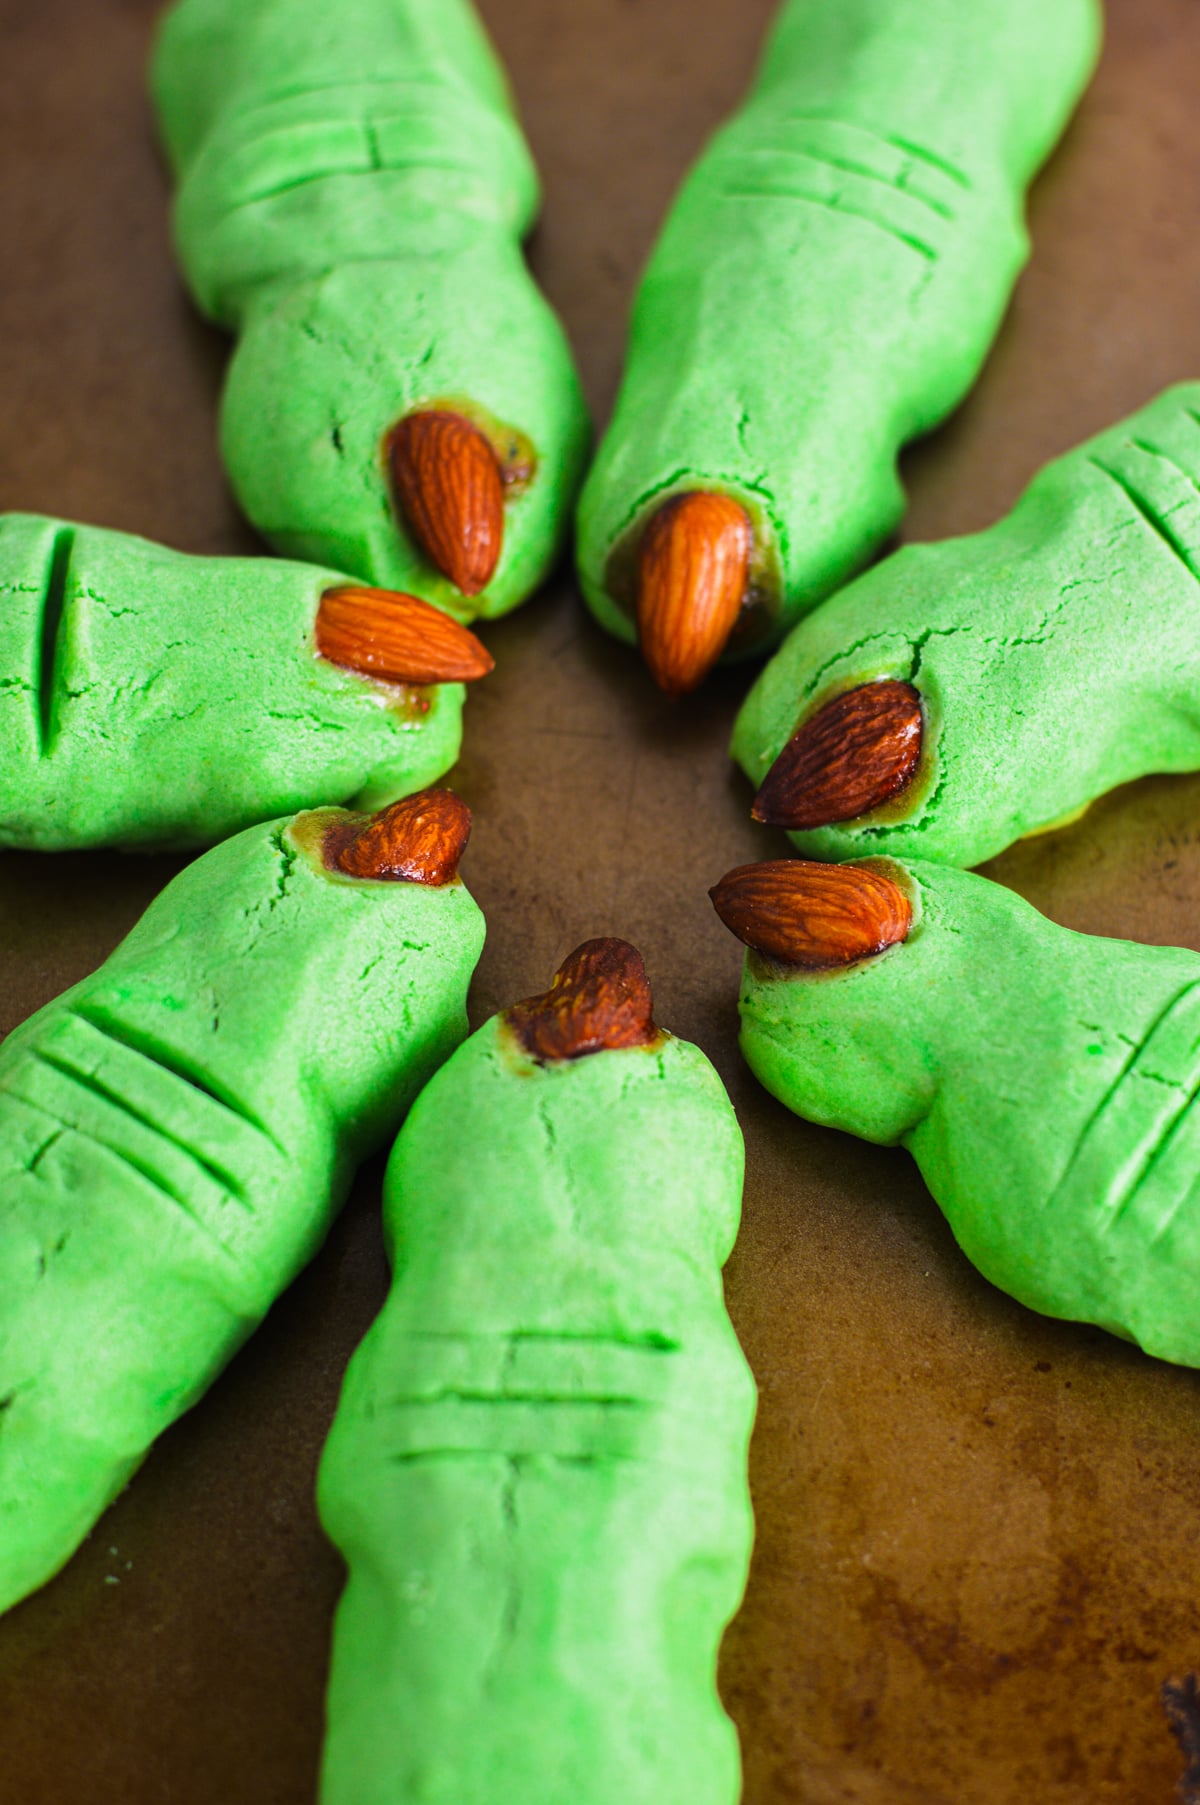
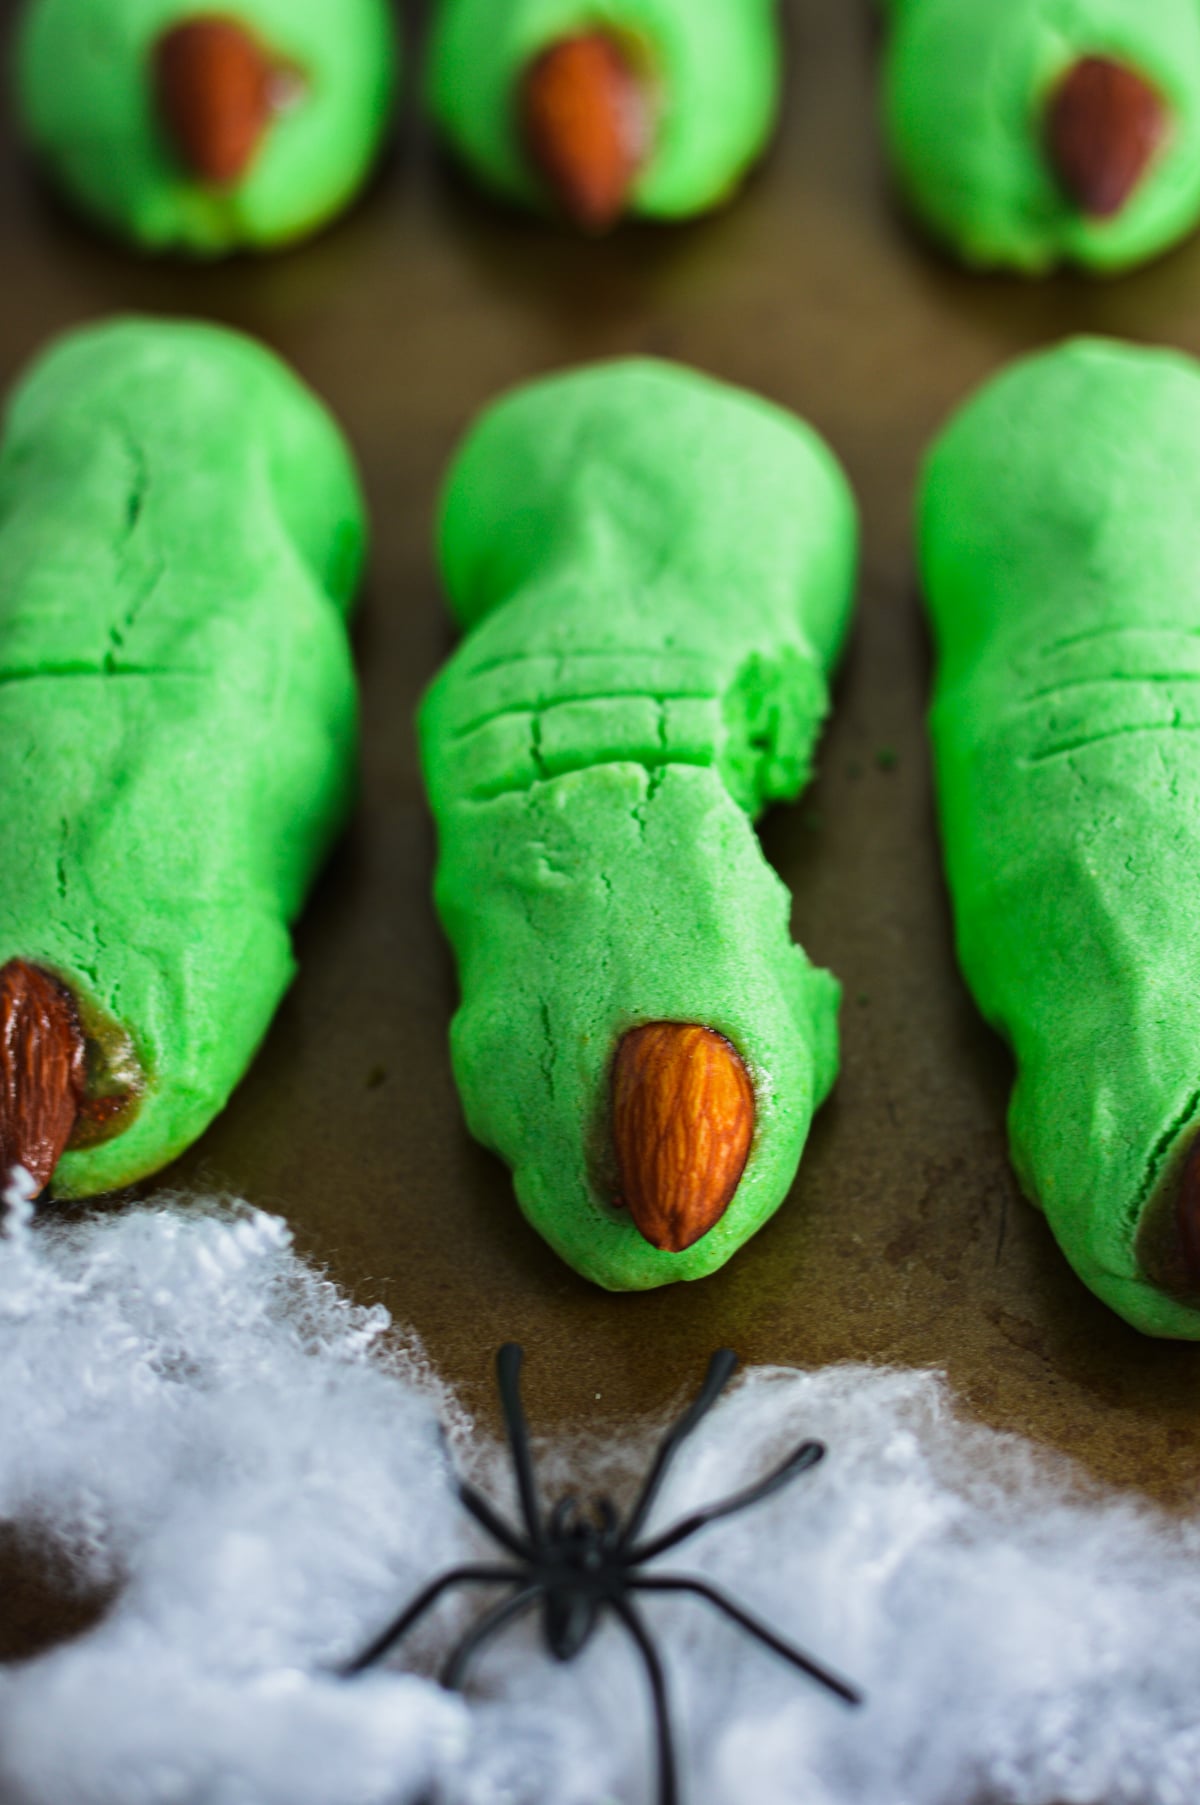
Get ready for Halloween with Witch Finger Cookies! Easy to make and perfectly spooky for your Halloween celebrations.
If you want some more spooky recipes for Halloween, try my Nutella Spider Brownies or my Pretzel Witch Brooms.
Recipe Summary: Witch Finger Cookies
- ✅ Recipe Name: Witch Finger Cookies
- 🕒 Ready In: 30 minutes
- 👪 Serves: 28 (easy to scale)
- 🍽 Calories: 127 per serving
- 🥣 Main Ingredients: All-purpose flour, powdered sugar, butter, strawberry jam, almonds
- 📖 Dietary Info: Kid-friendly, vegetarian
- ⭐ Why You'll Love It: These spooky green finger cookies make the perfect treat for Halloween parties, and are super fun to make!
SUMMARIZE & SAVE THIS CONTENT ON
Jump to:
It's October y'all!! And what is the best part about October? Halloween, of course!
It was actually a couple of months ago when I asked my boyfriend what his favorite holiday was, and he said Halloween. I'm not really sure why. He doesn't dress up, he doesn't go to Halloween parties, he doesn't even drink. It must be for the candy.
And since I am not skilled enough to make candy (and also because candy is so cheap this time of year that it would probably cost me more to make it than buy it) I opted to make witch fingers cookies.
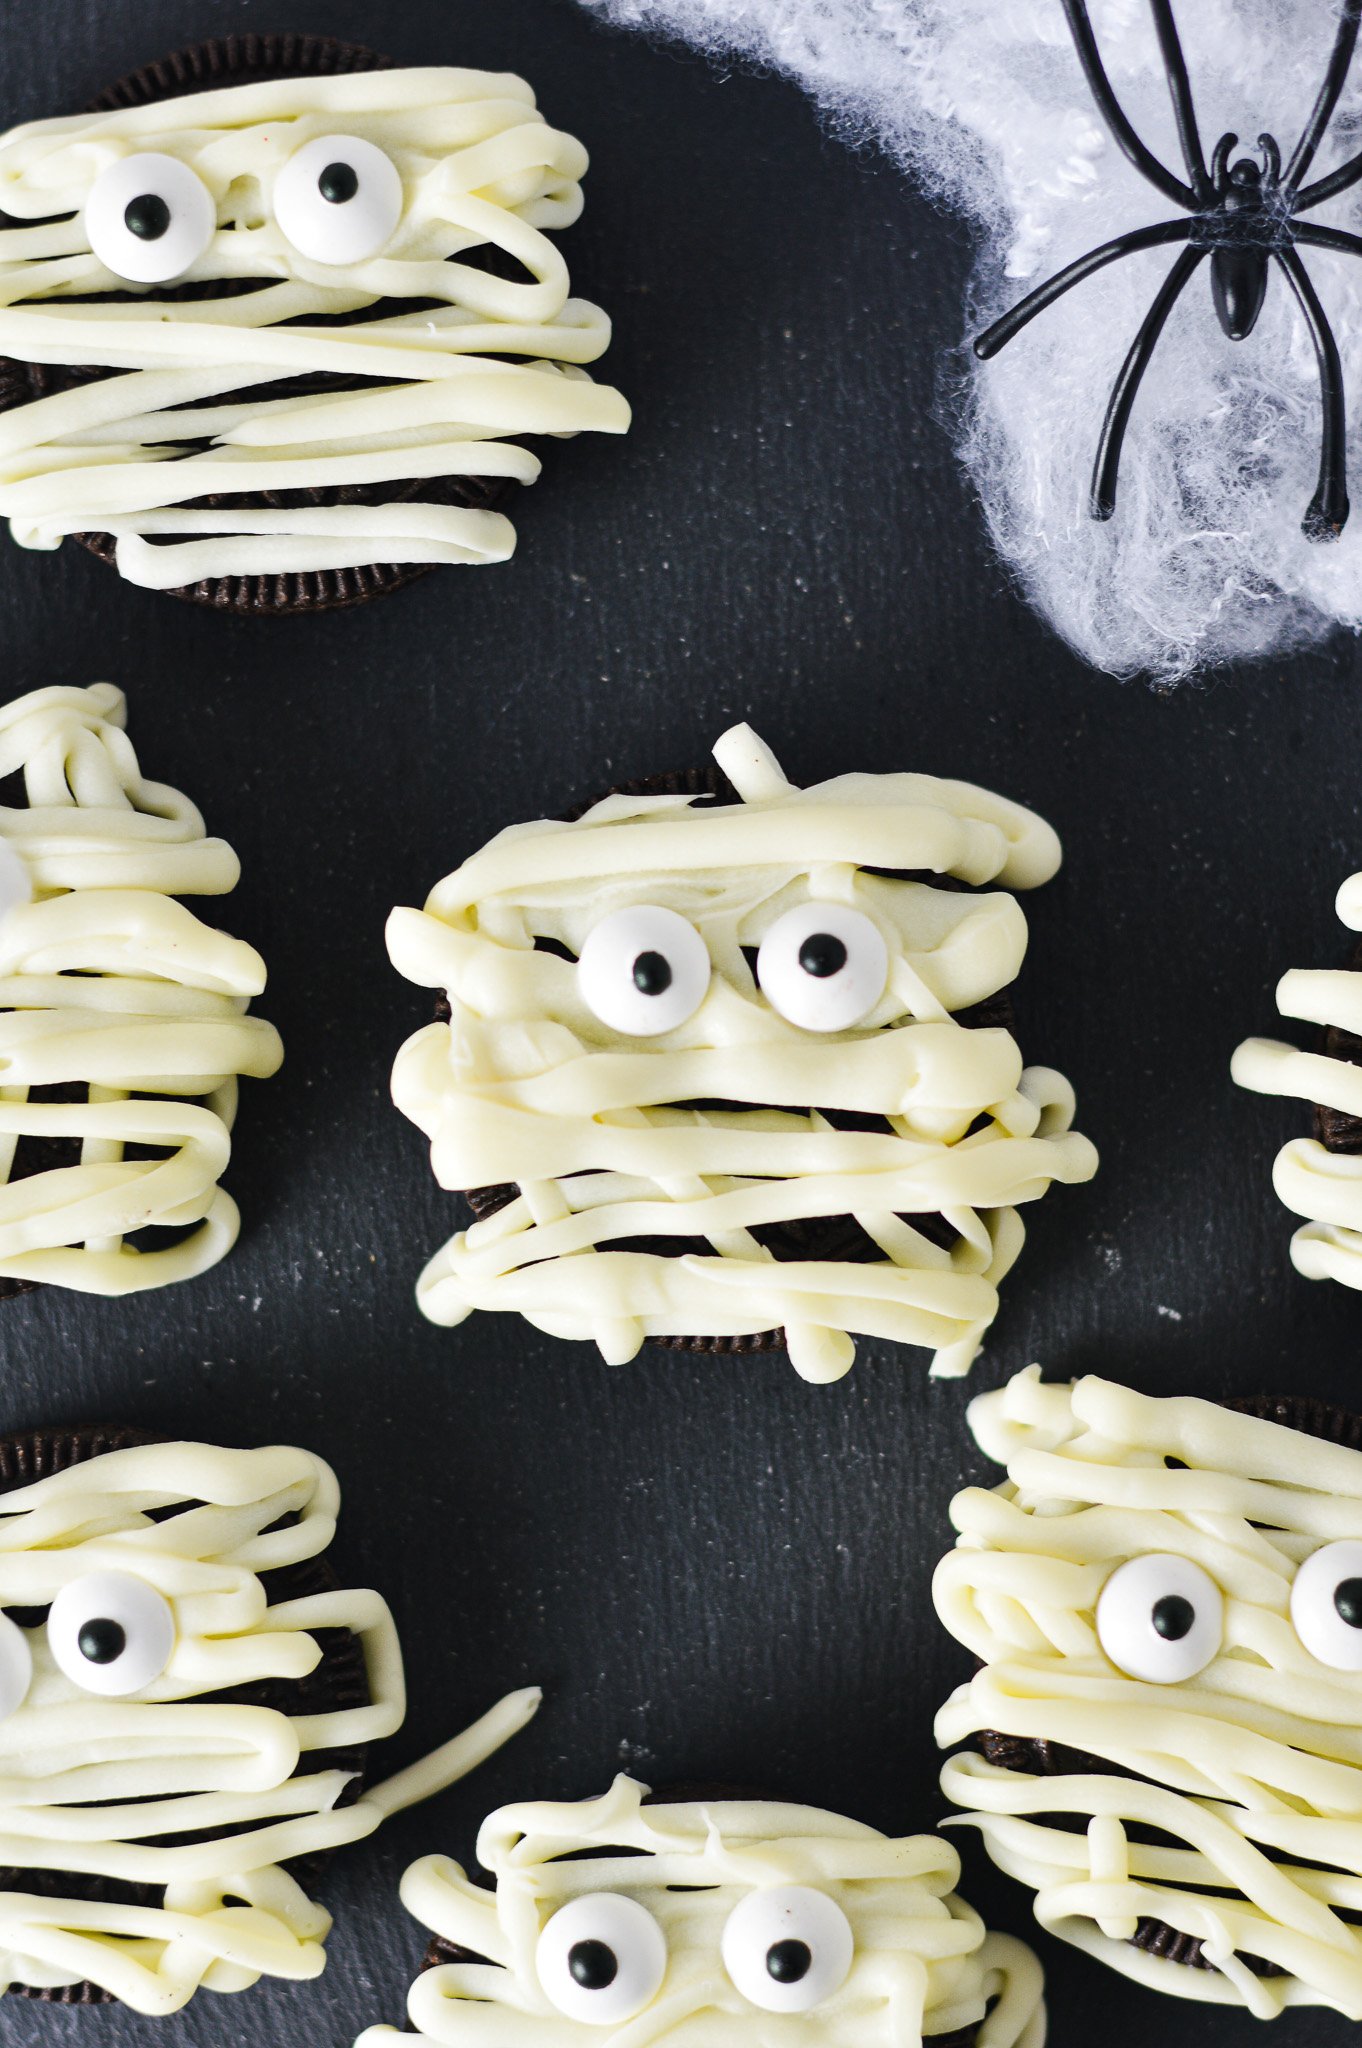
Now these Witch Finger Cookies are my kind of cookie! Not too sweet, easy to make and looks like a severed finger, making them the perfect Halloween treat for spooky season. And since I am in the Halloween spirit right now, I am already planning on making my Oreo Mummies and my Eyeball Buckeyes to celebrate.
Key Ingredients
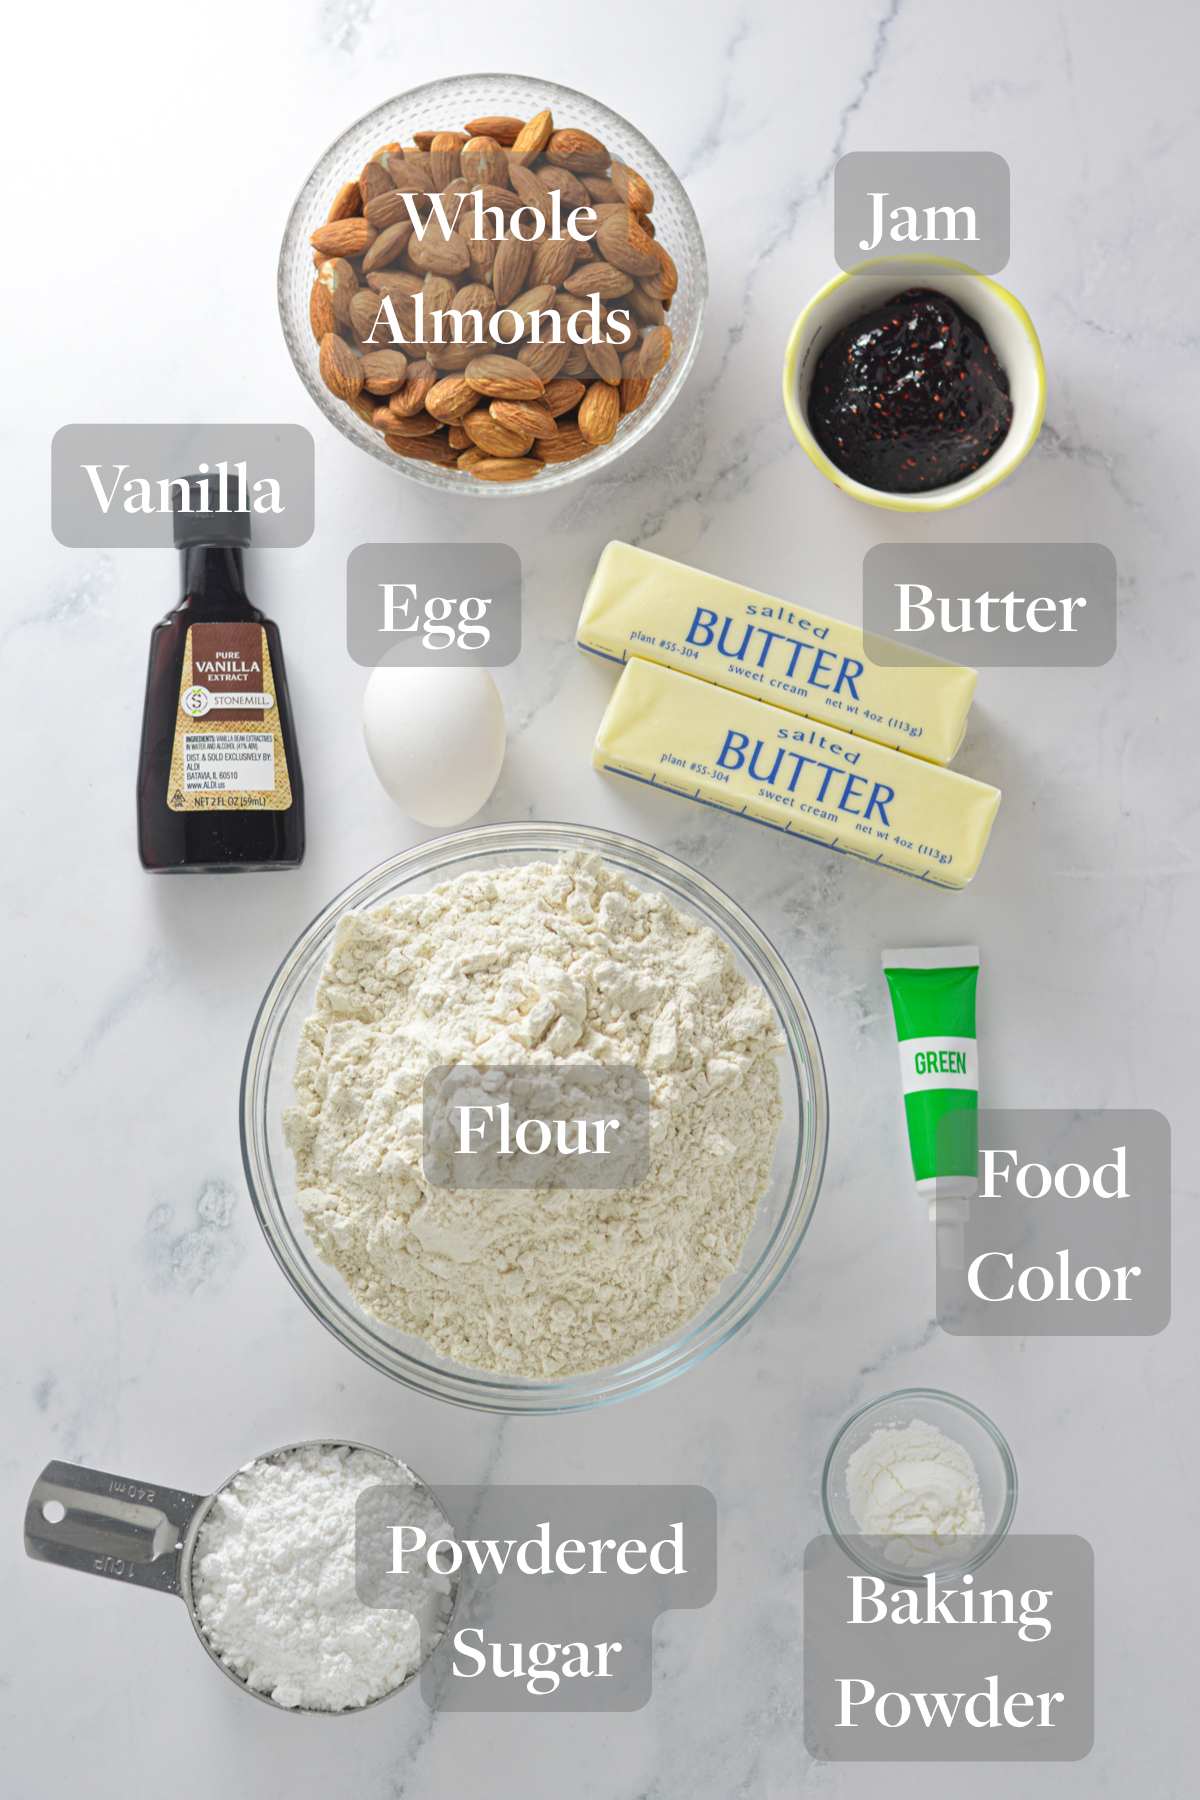
- All-purpose flour: provides the structure for the dough so that the fingers hold their shape while baking.
- Powdered sugar: adds sweetness and creates a smoother texture than granulated sugar, which helps the cookies maintain the details such as the knuckle indents.
- Baking powder: acts as a leavening agent to give the cookies a slight lift without causing them to spread too much and lose their shape.
- Butter: adds moisture and structure to the cookies, and binds the dry ingredients together into a workable dough.
- Egg: binds the ingredients together, and prevents the dough from crumbling when shaped.
- Vanilla extract: enhances the flavor, and balances the sweetness. Can also replace with almond extract.
- Whole almonds: to create the illusion of the fingernails!
- Strawberry jam: helps the almonds stick, and gives it that spooky "bloody" red visual.
- Green food coloring: gives the dough a creepy, signature witch-skin color.
How To Make Witch Finger Cookies
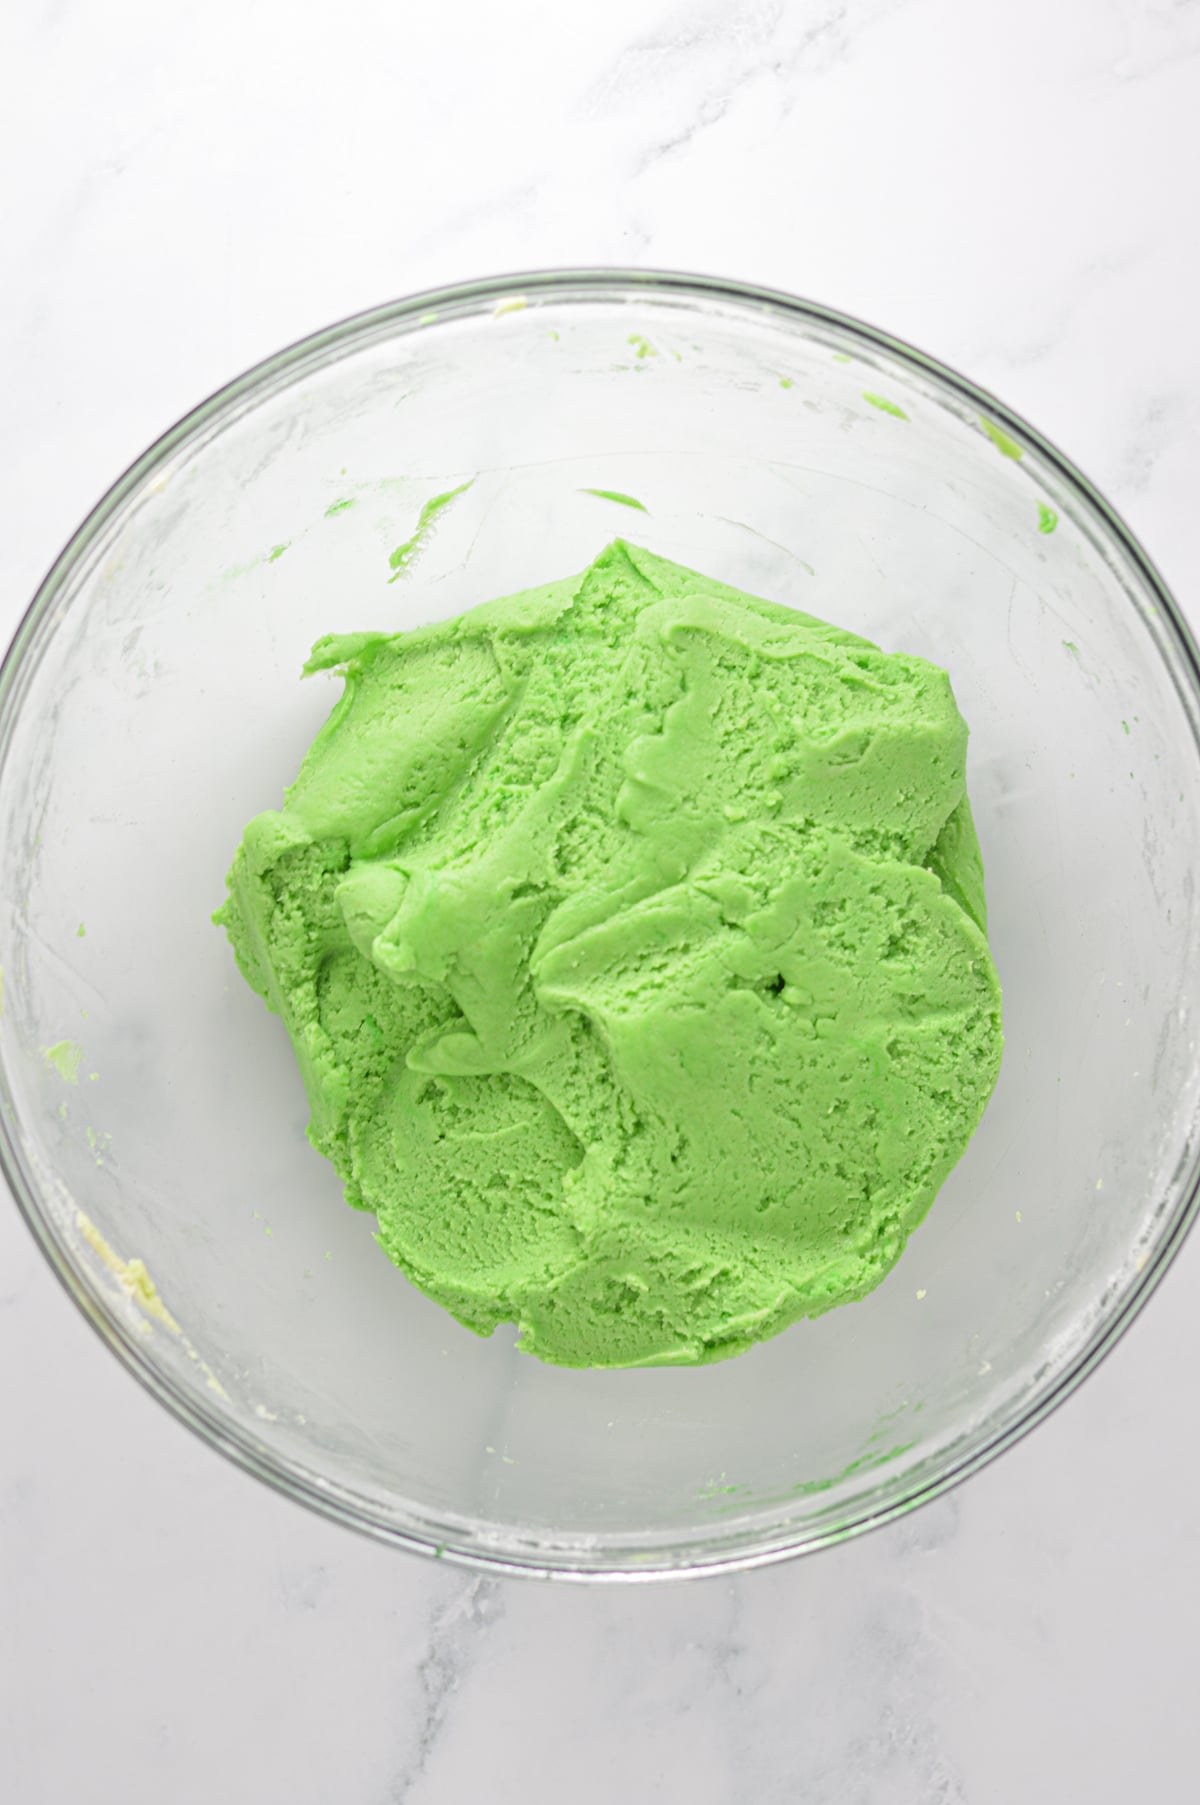
Step 1: In a large bowl, beat together the butter, powdered sugar, egg and vanilla until smooth. In a separate bowl, mix together the flour and baking powder. Slowly mix the dry ingredients into the wet ingredients until combined, then refrigerate for at least 1 hour.
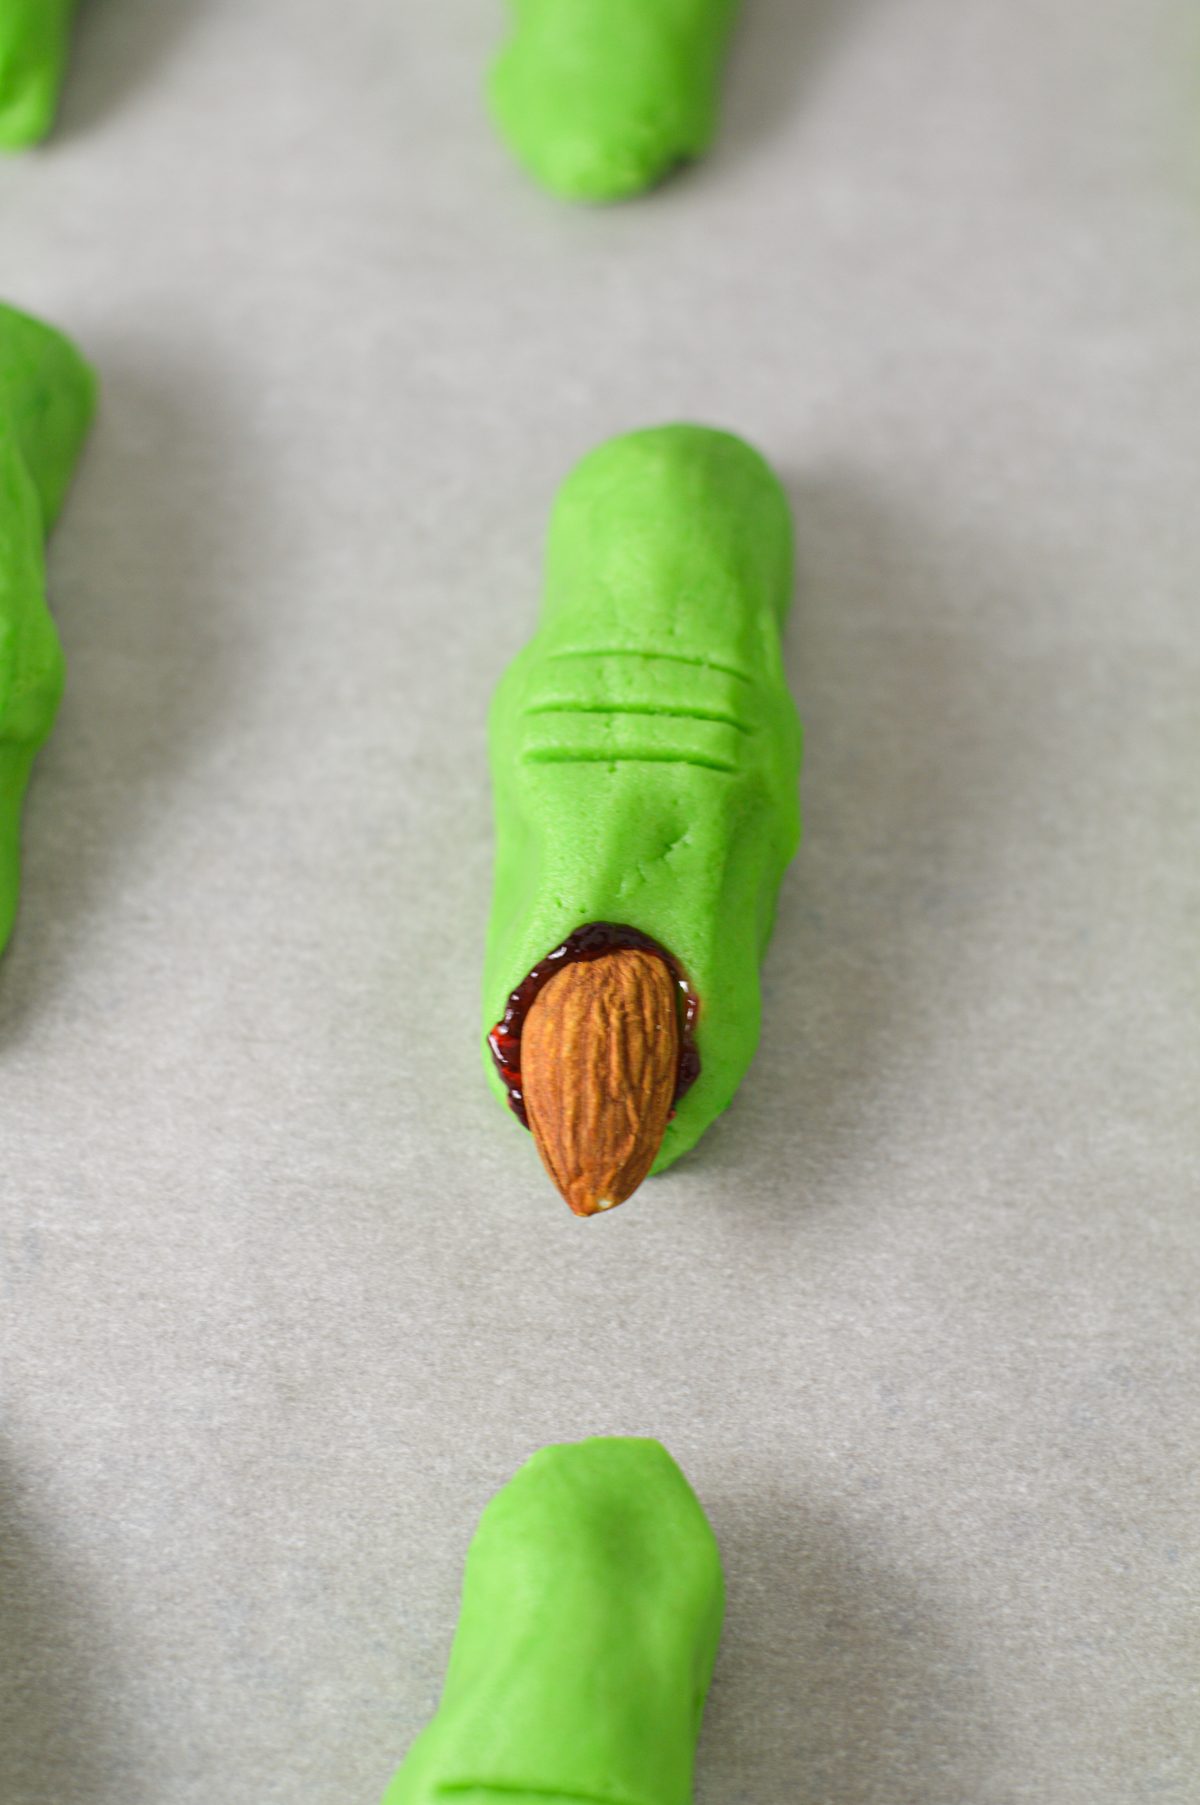
Step 2: Roll the dough into fingers, pinching the dough in two places to create knuckles. Place on a parchment paper lined baking sheet, then use a knife to create knuckle indents. Dip the almonds in strawberry jam, and press into the tip of each finger cookie. Bake at 325˚F for 20 minutes.
Witch Finger Cookies Expert Tips
Storage: Store these witches' fingers cookies in an airtight container at room temperature for around 3 days. You can also store them in the fridge for up to 1 week.
Make the almond finger nail extra spooky. For extra creepy witch finger cookies, use a blanched almond or a sliced almond for the almond fingernails. This will give the almond nail a more natural appearance. And for some final touches, you can add some red decorator gel around the fingernails. While I find jam the most convenient and works great, the red gel will make the bloody nails extra spooky.
Making the finger shape: make sure you make the knuckle part a little bigger than the rest of the cookie. Next, using a sharp knife, make small indents to give it that knuckle shape. It may lose its shape after baking. If it does, reshape it while the Halloween finger cookies are still warm.
Frequently Asked Questions
Chilling the dough is essential! If the dough gets too warm before baking, the butter will melt too fast causing the cookies to spread. Chilling the dough for at least 1 hour before baking will ensure they do not spread.
Yes! You can prepare the dough and wrap it in plastic wrap, then store it in the fridge for up to 2 days before shaping and baking.
The strawberry jam, raspberry jam or red decorating gel under each almond acts like glue to stick them on the cookies. Make sure you add enough, and press the almonds down into the cookie so it stays in place.
More Fun Spooky Cookies To Bake

If you try this recipe, let me know! Rate it, leave a comment and tag me with #atasteofmadness on Instagram! I always love seeing what you are creating!
Witch Finger Cookies Recipe
Ingredients
- 1 cup salted butter, softened
- 1 cup powdered sugar
- 1 large egg
- 1 teaspoon vanilla extract
- 2 ⅔ cups all-purpose flour
- 1 teaspoon baking powder
- 28 whole almonds
- strawberry jam
- green food coloring
Instructions
- In a large bowl, beat together the butter, powdered sugar, egg, and vanilla until fully combined.
- In a separate bowl, mix together the flour and baking powder. Slowly mix in the dry ingredients into the wet ingredients until fully combined. Refrigerate for at least 1 hour.
- Preheat the oven to 325˚F. Line baking sheets with parchment paper.
- Form the dough into fingers, pinching each piece of dough in two places to create knuckles. Use the back of a paring knife to create the appearance of the surface of a knuckle.
- Dip the almonds in the strawberry jam and press into the tip of each finger cookie.
- Bake for around 20 minutes. If the cookies have lost shape, gently reform while still warm.

These cookies are great! I be they would be a huge hit for kids.
Really spooky , Cathleen ! Love it 😀
They look too real for me, but kids would absolutely love them.
oh we love celebrating Halloween and that's because of all kinds of candies...jack o lanterns and spooky desserts....loved these cookies...will make so many treasured childhood memories come to life,thanks for sharing 🙂
Hi Cathleen , fingers spooky , cookies is a must on my list for halloween thanks for sharing :).
I love October!
These cookies look really spooky & these are on my to do list
These are really spooky Cathleen... I made similar ones some time back and my family totally loved it 🙂
Spooky and gross!
Scary and wonderful cookies ! You are very innovative Cathleen...
These are hilarious!! Love t!
Eeeeekkkkkk Cathleen!!!! Those are really scary!
Cute and spooky cookies! 🙂
I have seen that idea somewhere and I think these are amazing treats!!
I must admit Halloween is not my favorite either, Cathleen. Candy on the other hand takes second to a good and tasty cookie. (in this case a bit of a ghoulish one also:)
Thank you so much for sharing...I will be pinning your creative cookies to my Halloween Pinterest board, Louise
P.S. We're having a Pasta Party over at my blog. You are more than welcome to come meet "the gang" and post a pasta recipe. Louise